Page 1 of 3 123 LastLast
Results 1 to 20 of 56

Thread: Project Jeepster

  1. #1
    Banned George C's Avatar
    Join Date
    Aug 2006
    Posts
    1,490

    Project Jeepster

    We've had this jeep now for sometime, it served us well for a toy and a back up vehicle.
    [in these pics the jeep is 31x1050 with 2" BB lift]


    This past spring the jeep was involved in an accident that almost deemed it totalled. Fender,axle and suspension damage plus the mileage of it so they wanted to total it but wait, whats a Jeep persons favorite things to do? Lift and off road parts, so we talked to insurance company and we kept it. We went ahead and contacted Rusty's offroad for one of their lifts. We were looking for a kit that had bascially everything that needed to be replaced. We decided on a 5.5" suspension lift.


  2. #2
    Banned George C's Avatar
    Join Date
    Aug 2006
    Posts
    1,490


    so with just about everything gathered we decided to start tearing into the jeep this past saturday.


  3. #3
    Banned George C's Avatar
    Join Date
    Aug 2006
    Posts
    1,490
    heres the frame setup getting ready to have the little 2.5 pulled


    heres the tub, up in the air getting ready for little bit of rust repair


    so with all this going on, once the driveline is removed from frame, the frame is getting blasted and any repair needed will be addressed, new motor mounts welded in place then off the the coater to be powdercoated black.
    once back the chassis will be assembled
    the tub is gonna get a few spots addressed then having the inside of the tub done in bed liner, then reassembled.
    She wants to color change the jeep so not sure on what color its gonna be but sure as hell isnt gonna be red again lol

  4. #4
    Banned George C's Avatar
    Join Date
    Aug 2006
    Posts
    1,490
    onight, her and I got to pullin the 2.5 out,


  5. #5
    Banned George C's Avatar
    Join Date
    Aug 2006
    Posts
    1,490
    well got frame completely stripped down and took it to get blasted. Now its time to do some metal repair and then start getting the GenIII mounts in place

    install was pretty straight forward just had to drill a few new holes for the trans plate. Currently the mock up motor is installed....Gonna fully weld everything off then start painting the frame then its time to toss the new suspension mods at it


  6. #6
    Banned George C's Avatar
    Join Date
    Aug 2006
    Posts
    1,490
    got the new mounts fully welded up and then applied 3 coats of rustoleum black to the frame. looks a hell of a lot better then it did a few weeks ago


    hoping for this weekend to be productive of least getting the rear axle in place with the new suspension
    clutch,starter, hydraulics were ordered, so in about 2 weeks should be able to get the complete driveline in place

  7. #7
    Banned George C's Avatar
    Join Date
    Aug 2006
    Posts
    1,490
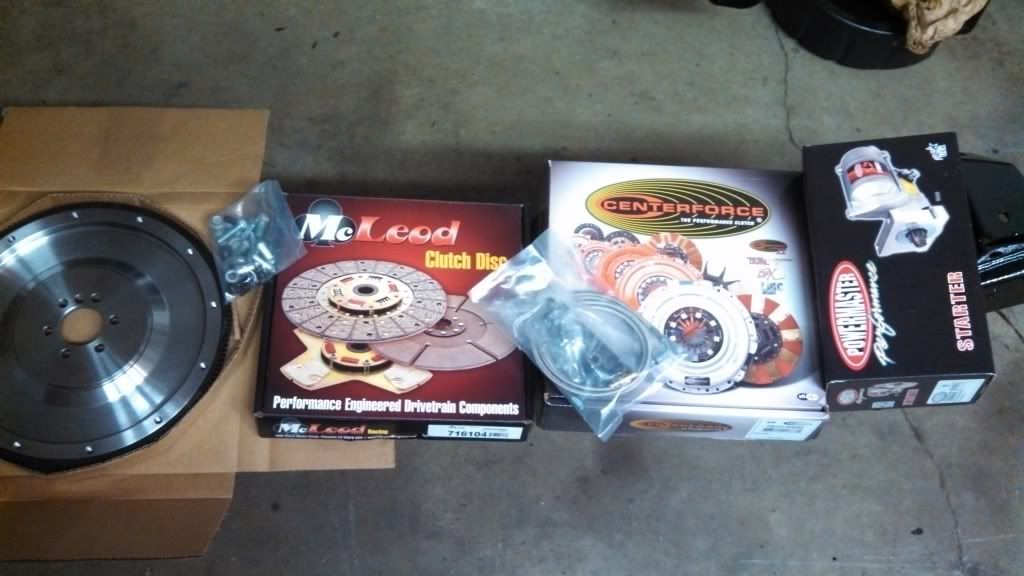
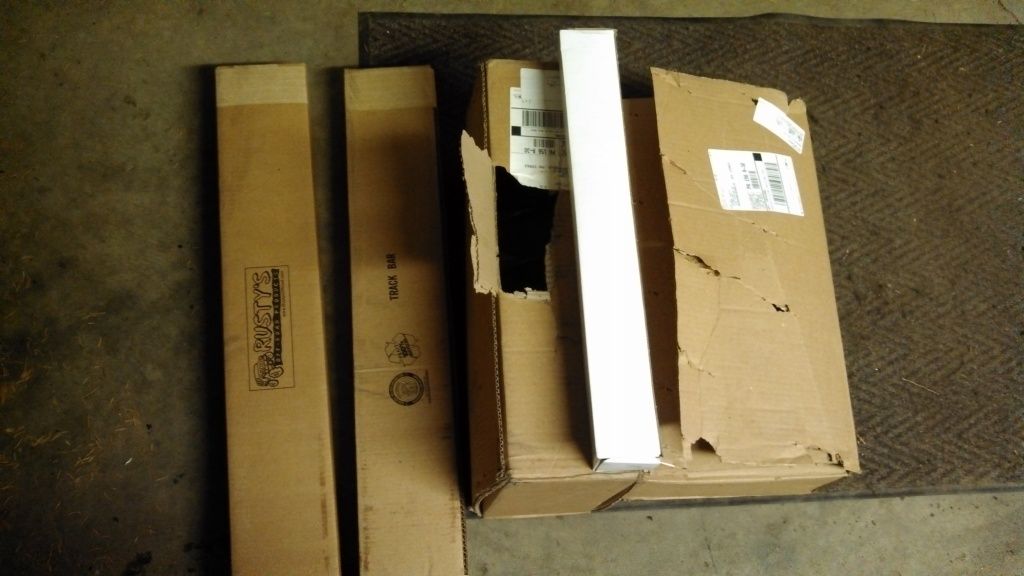
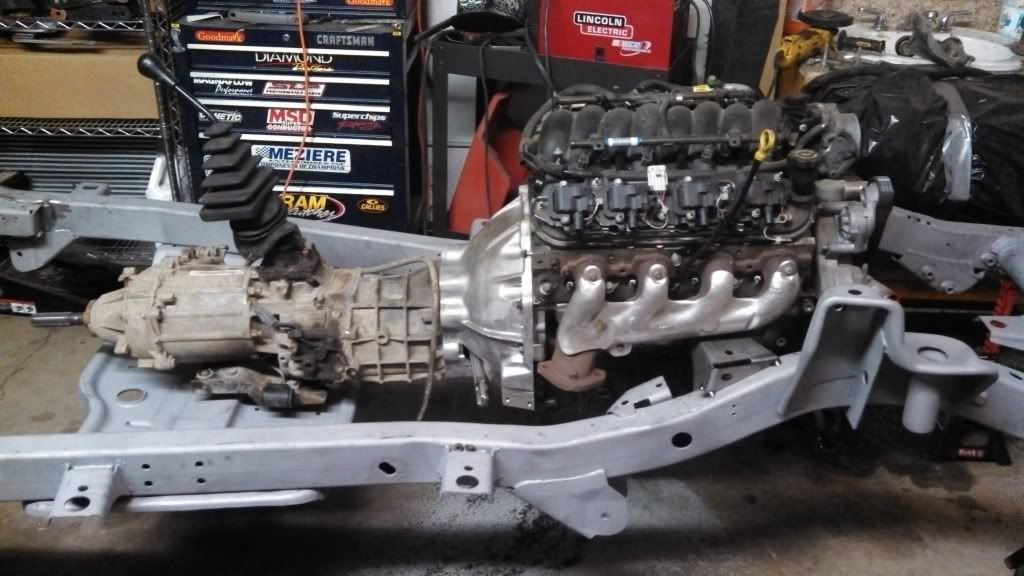
    well the clutch goodies showed up


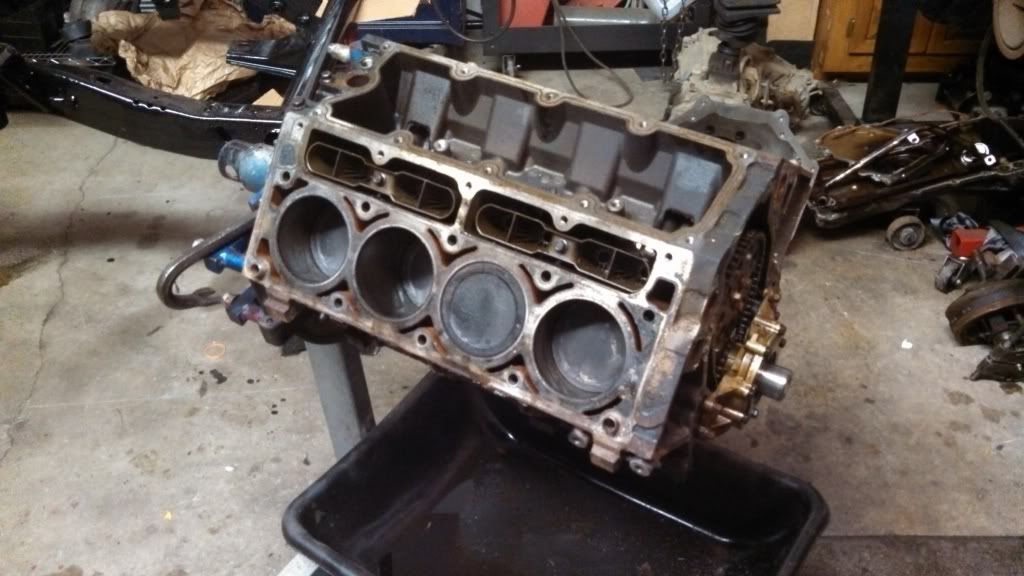
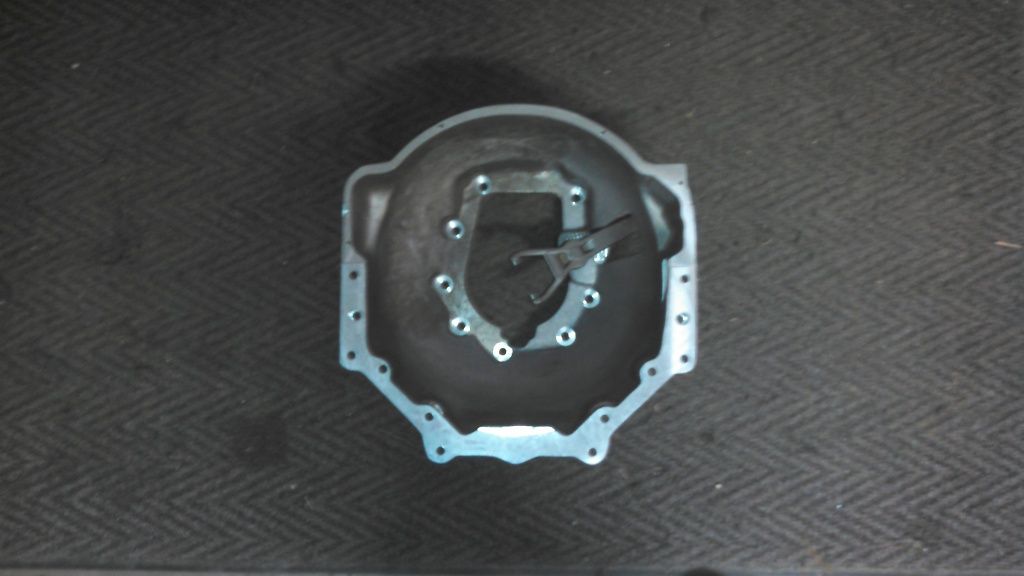
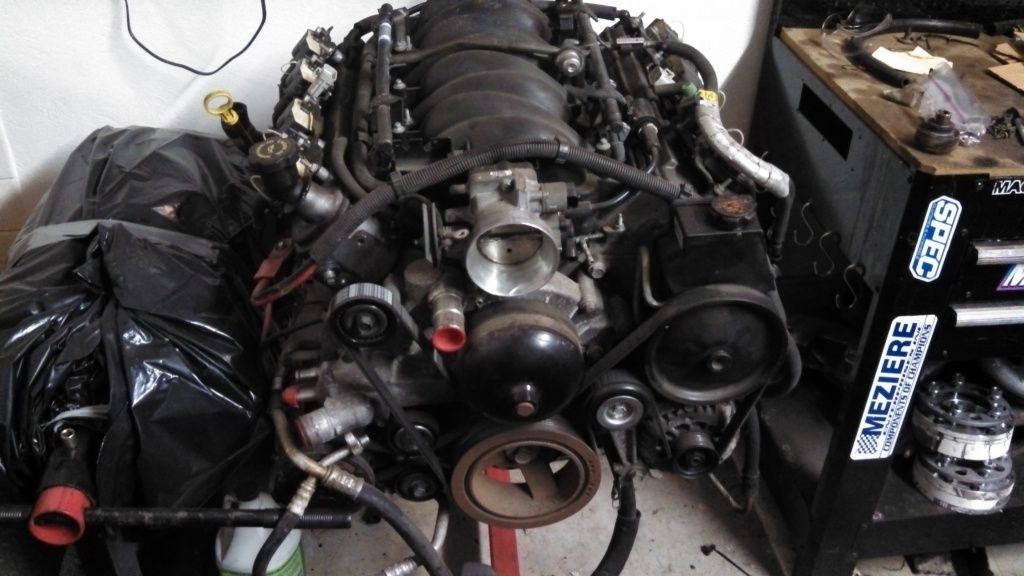
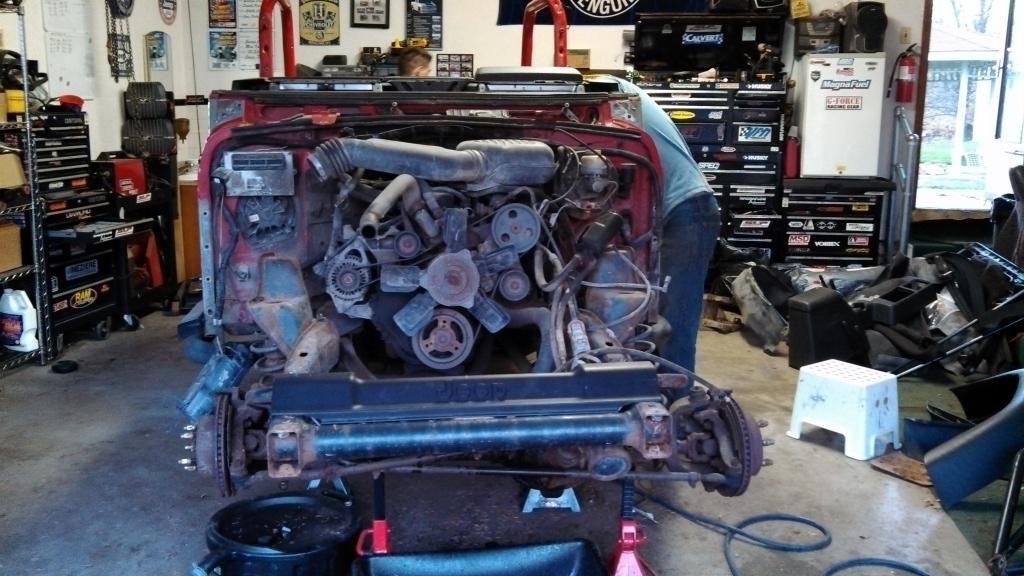
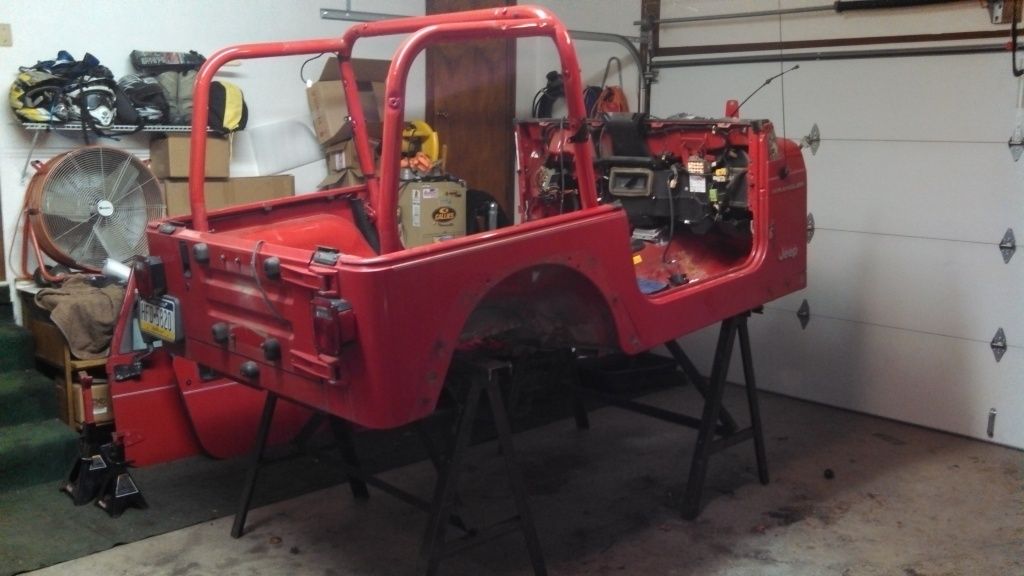
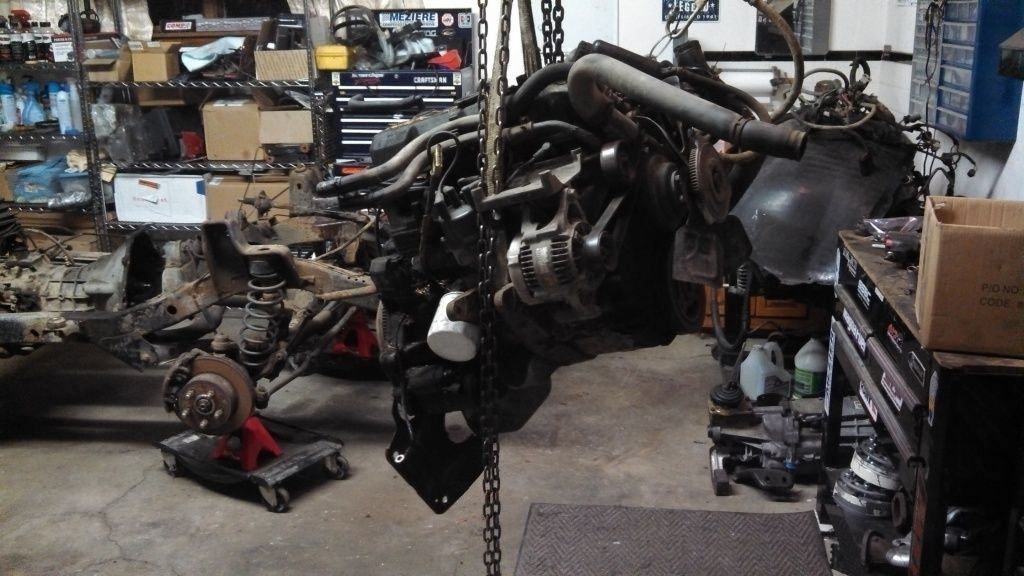
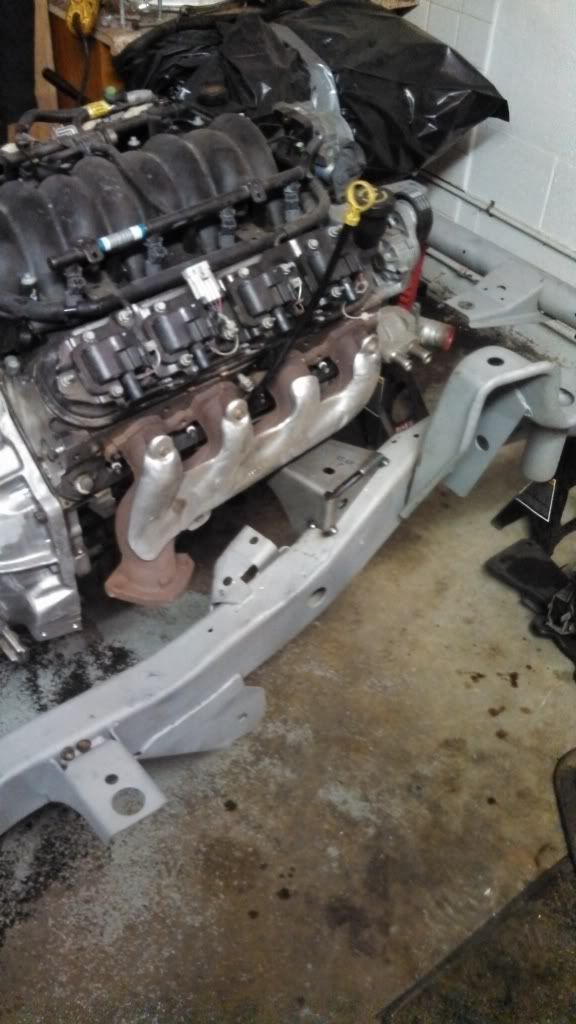
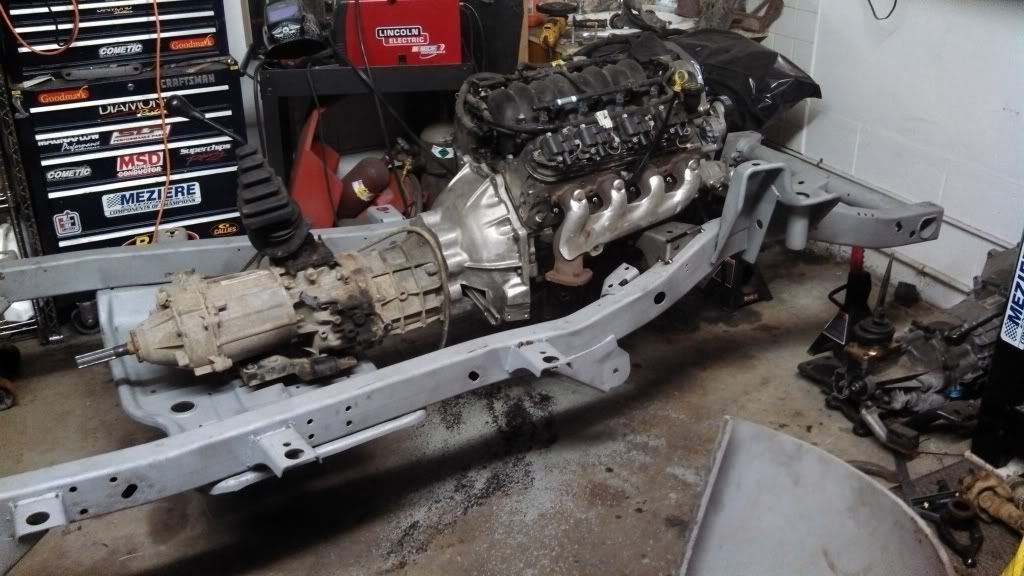
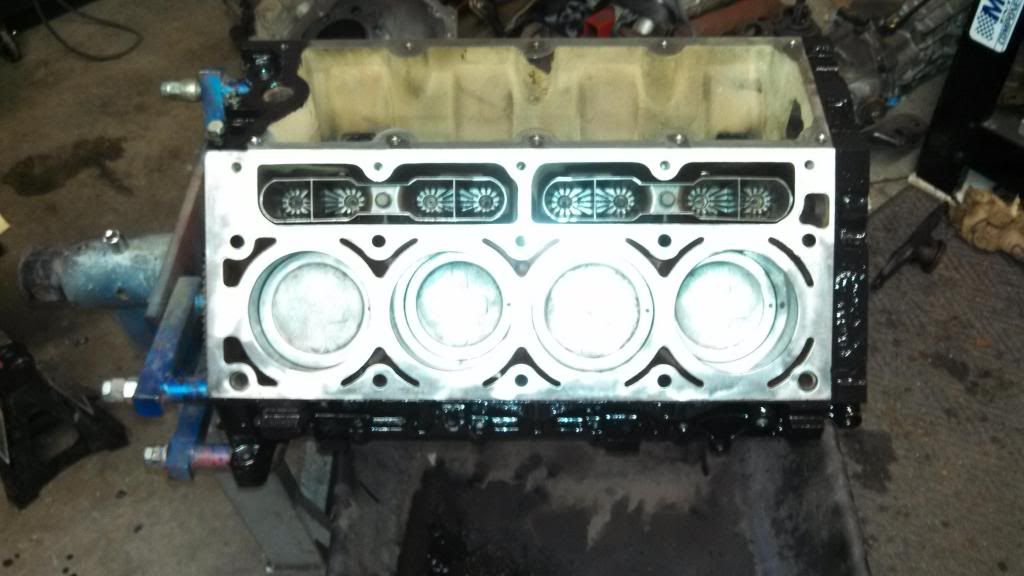
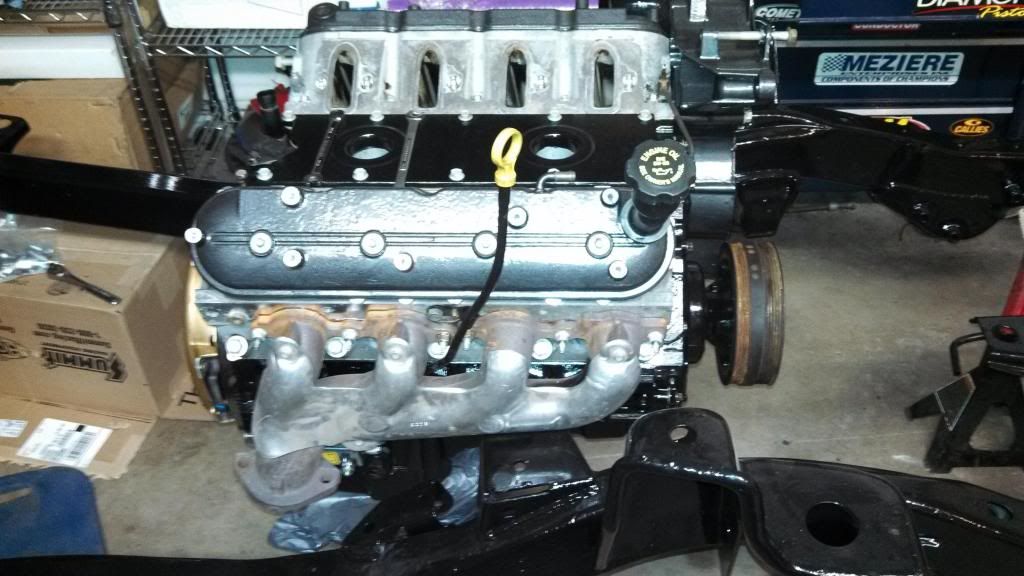
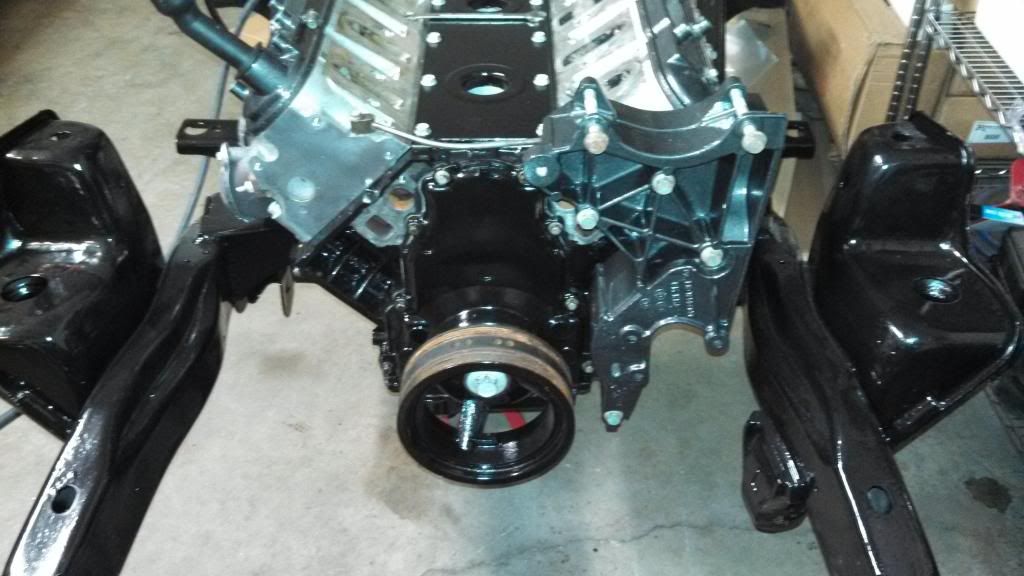
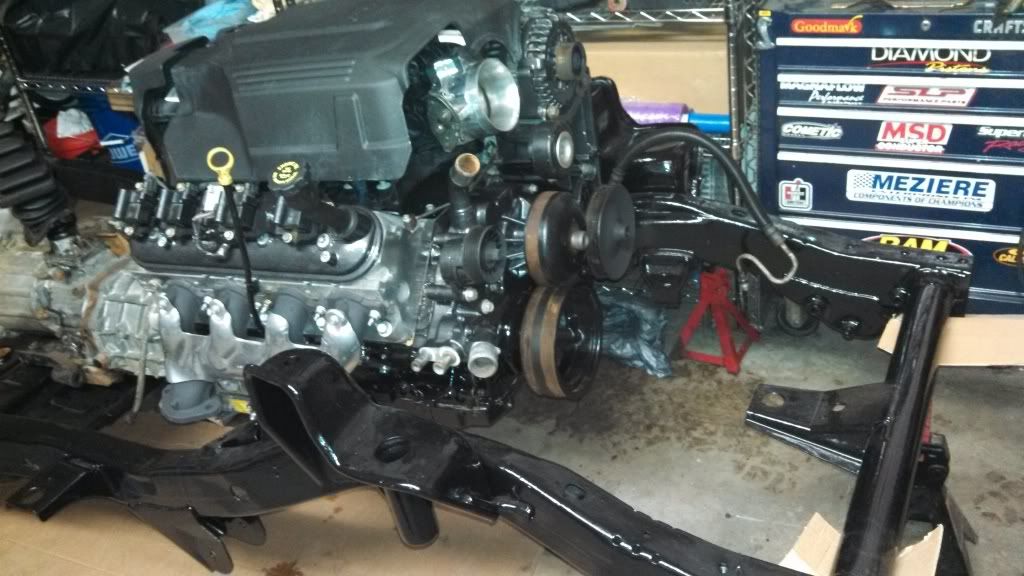
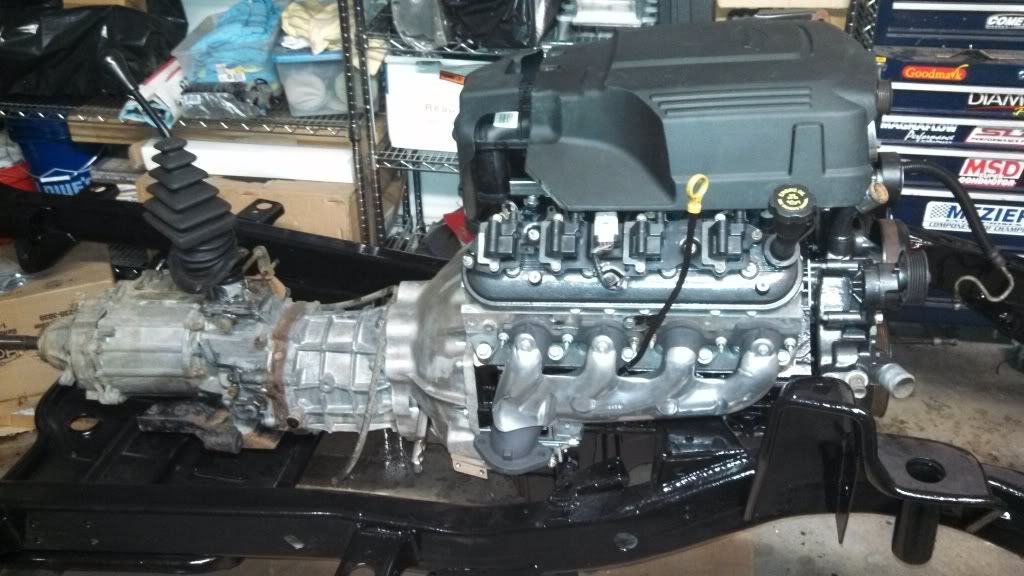
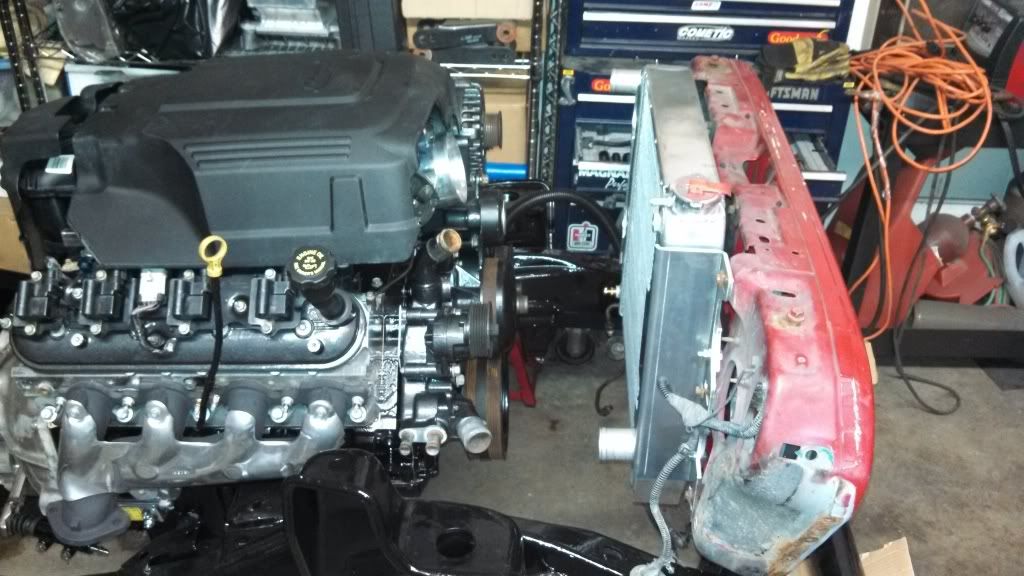
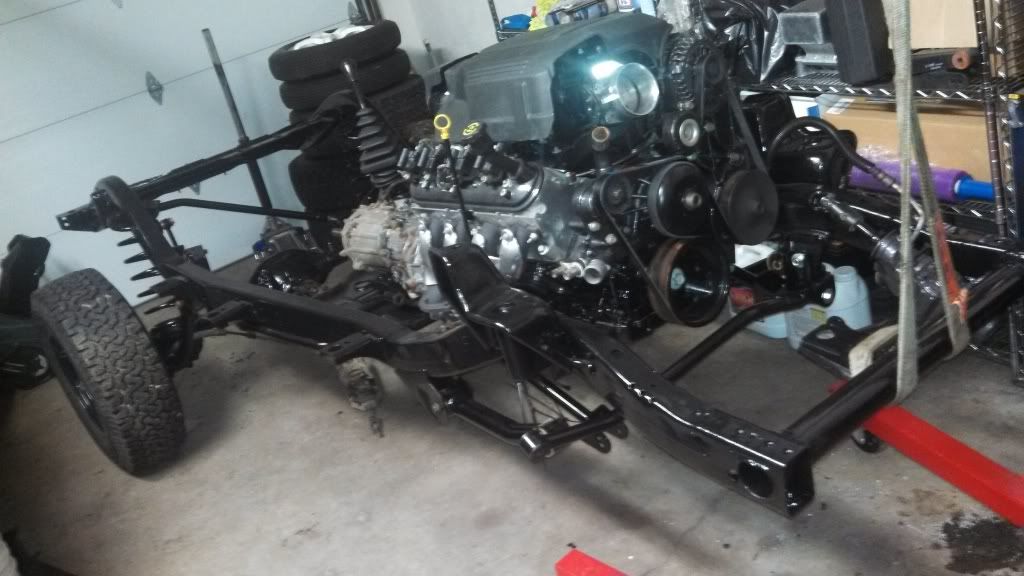
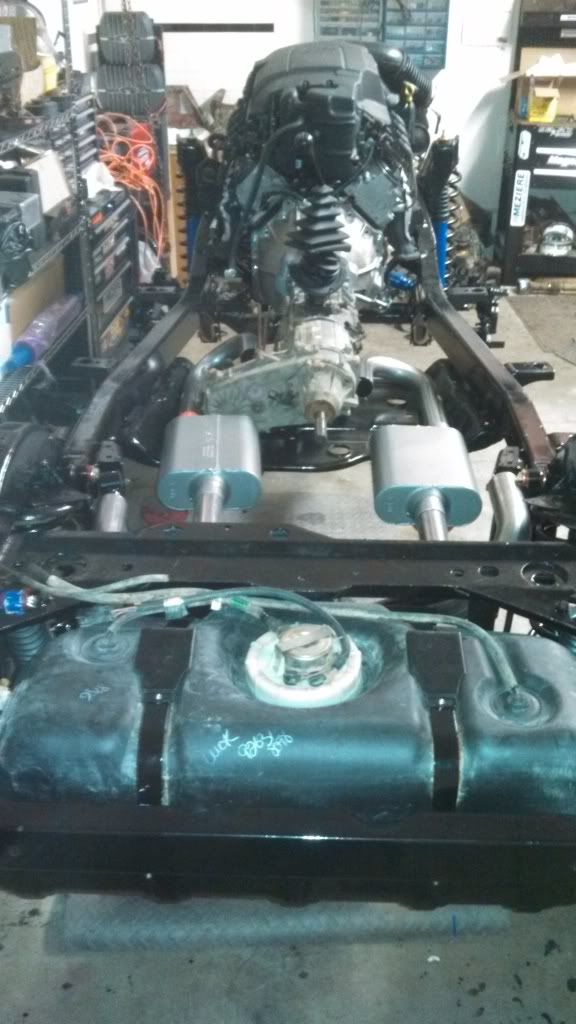
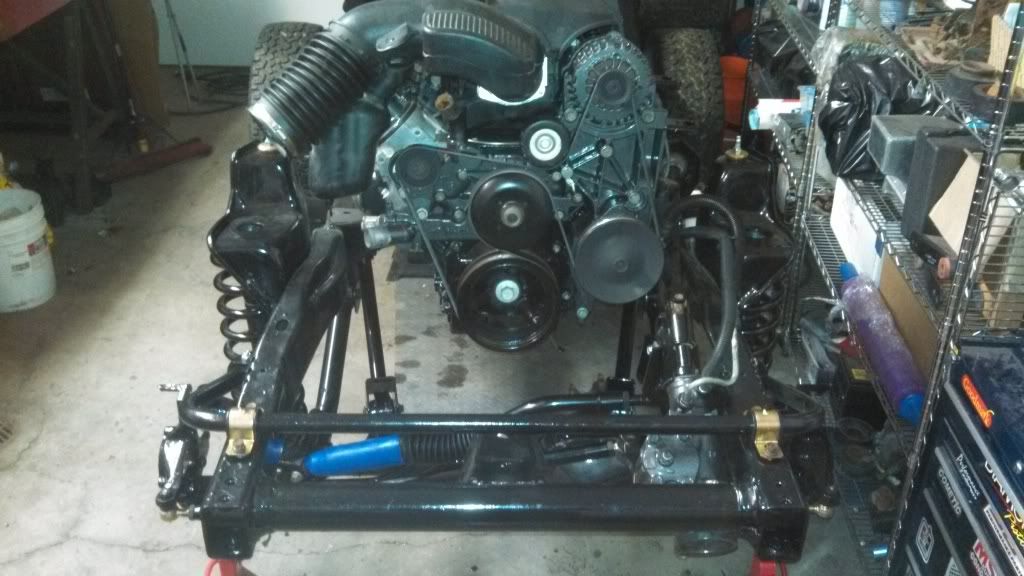
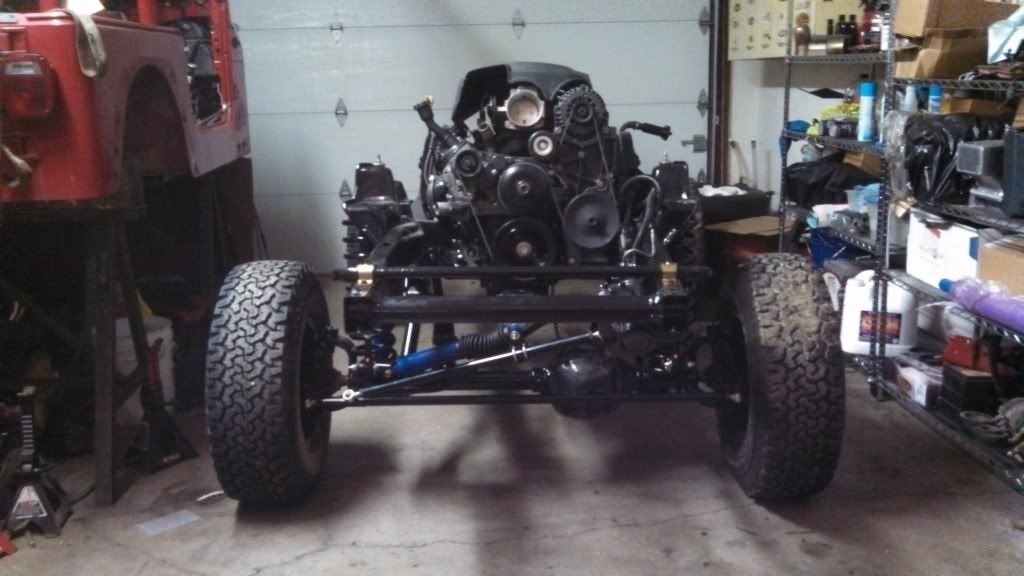
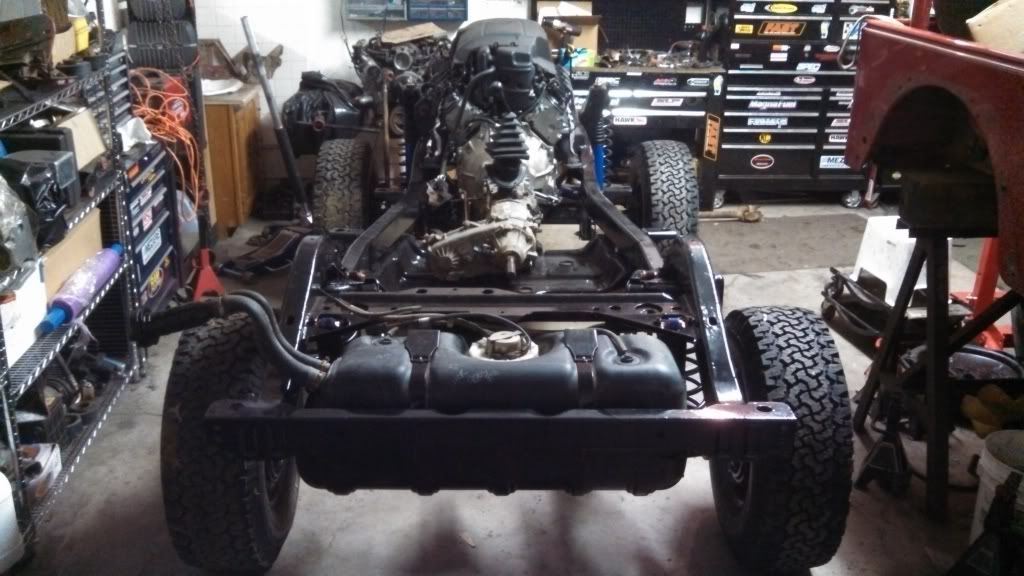
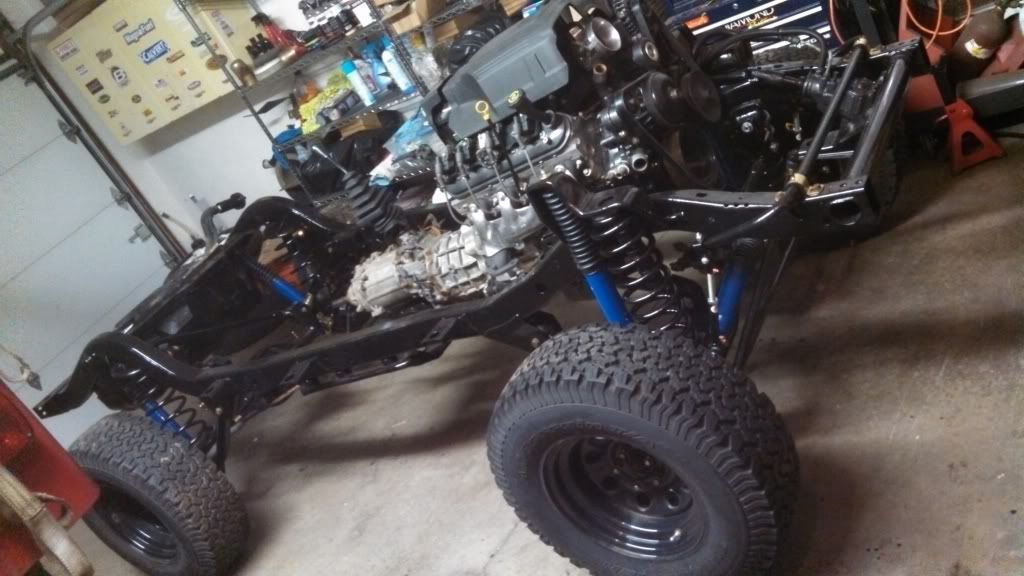
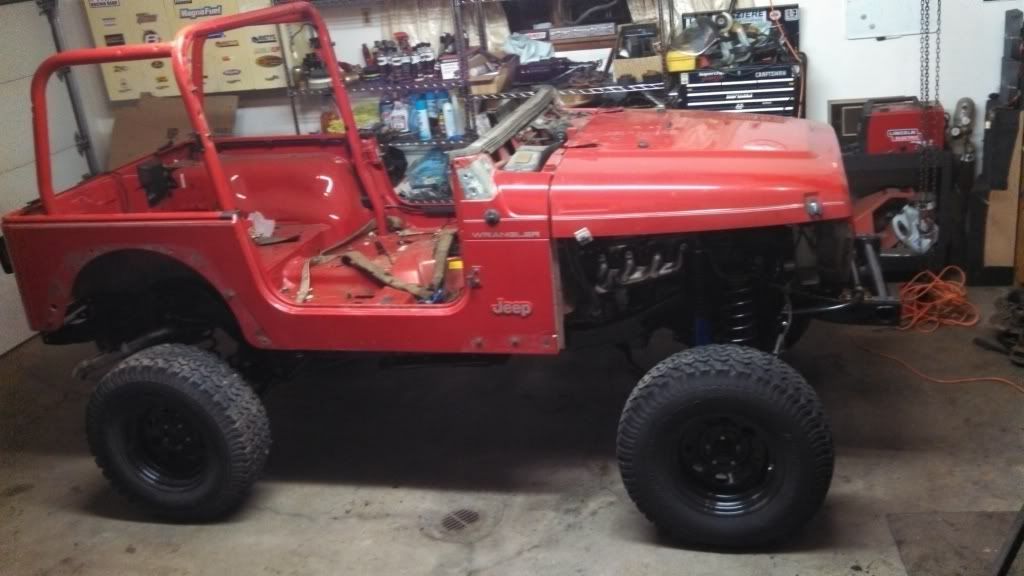
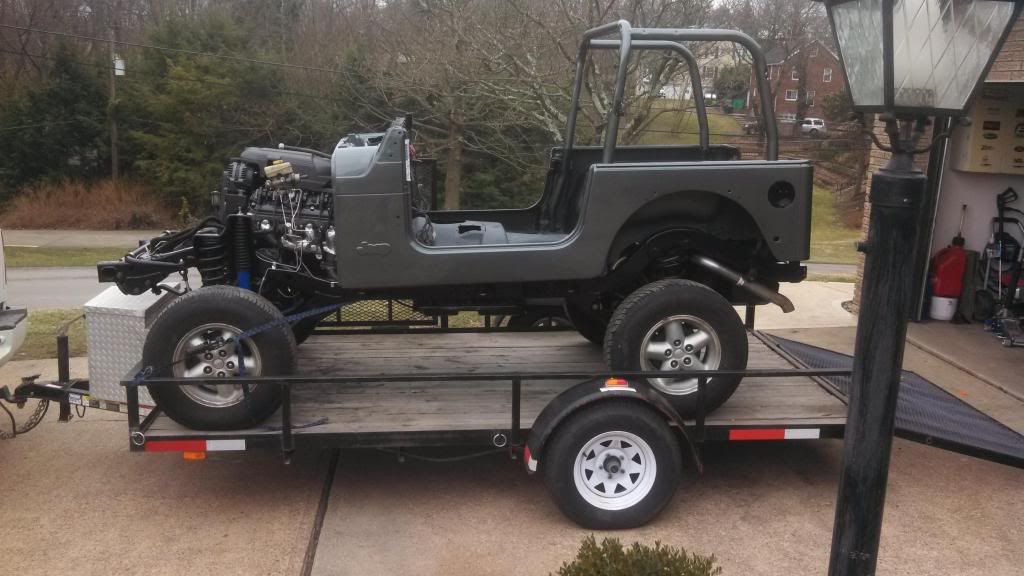
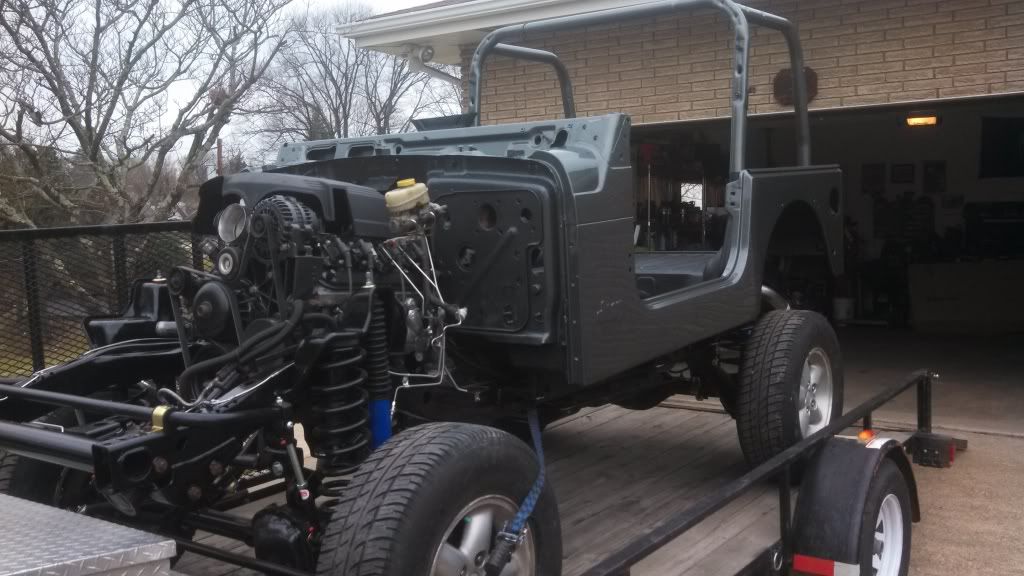
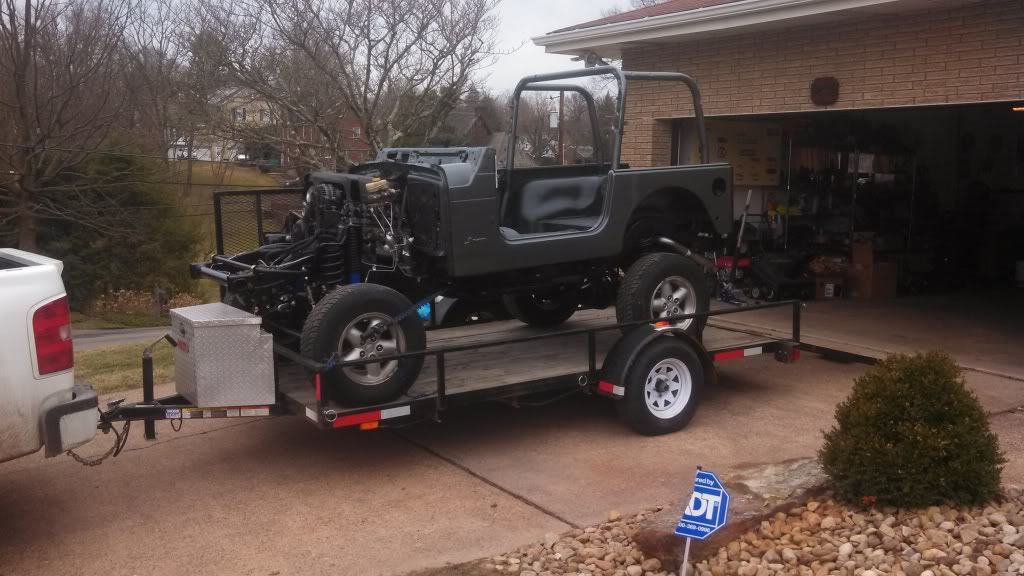
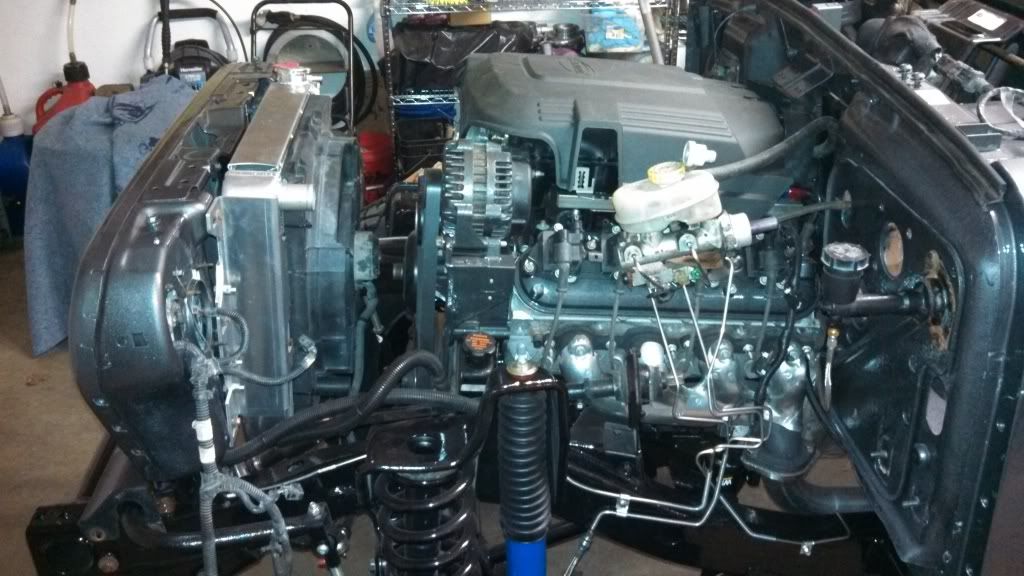
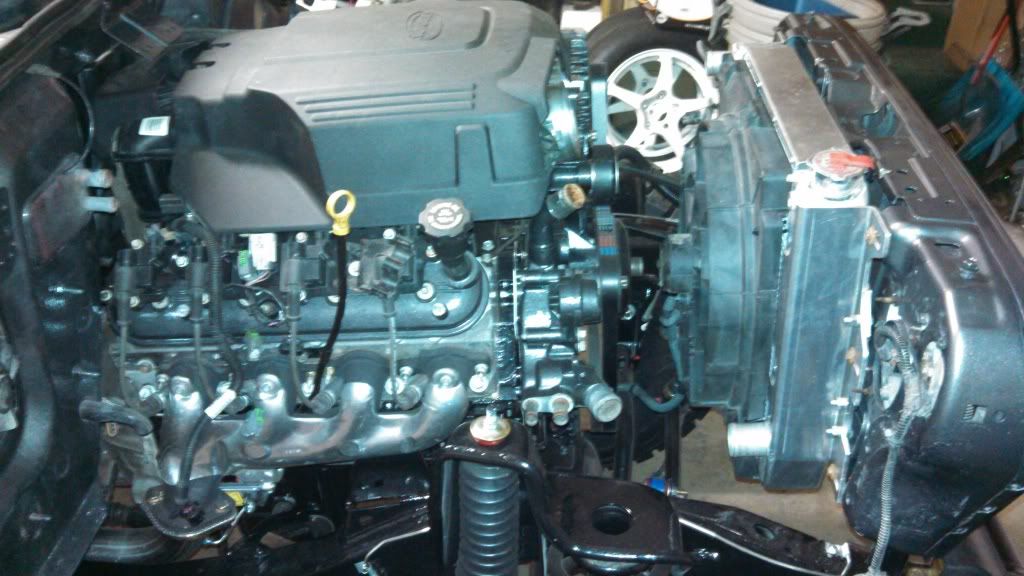
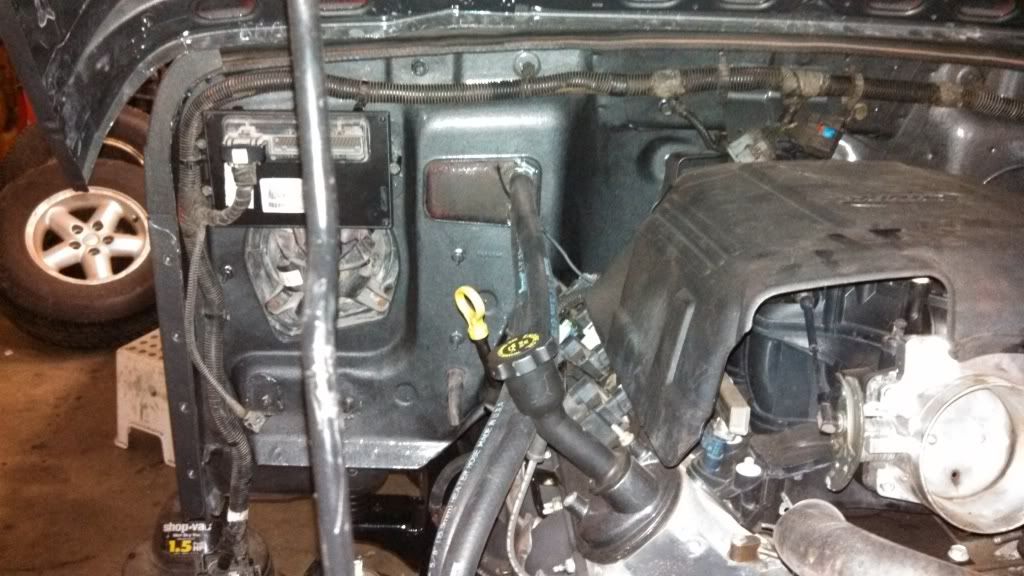
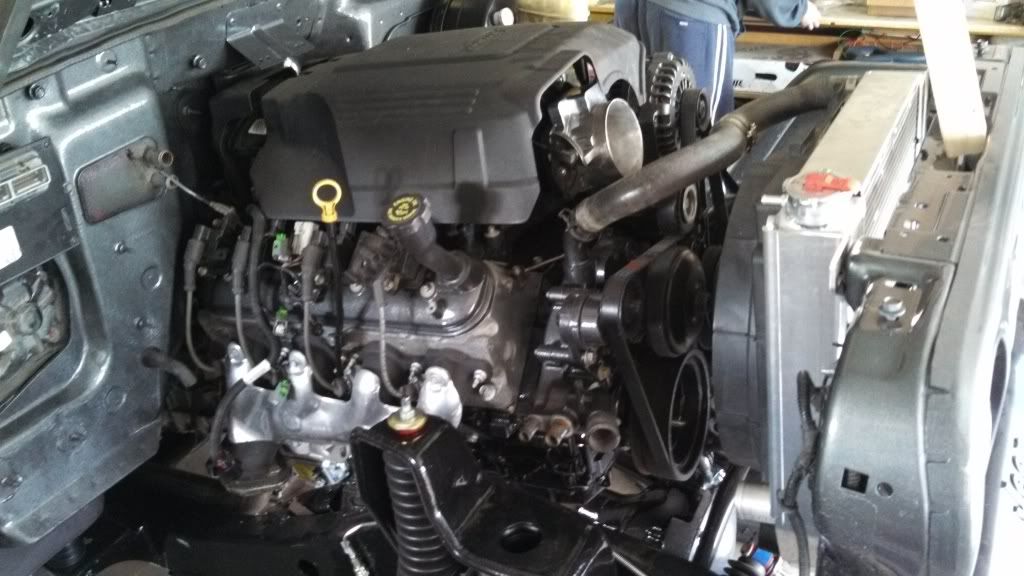
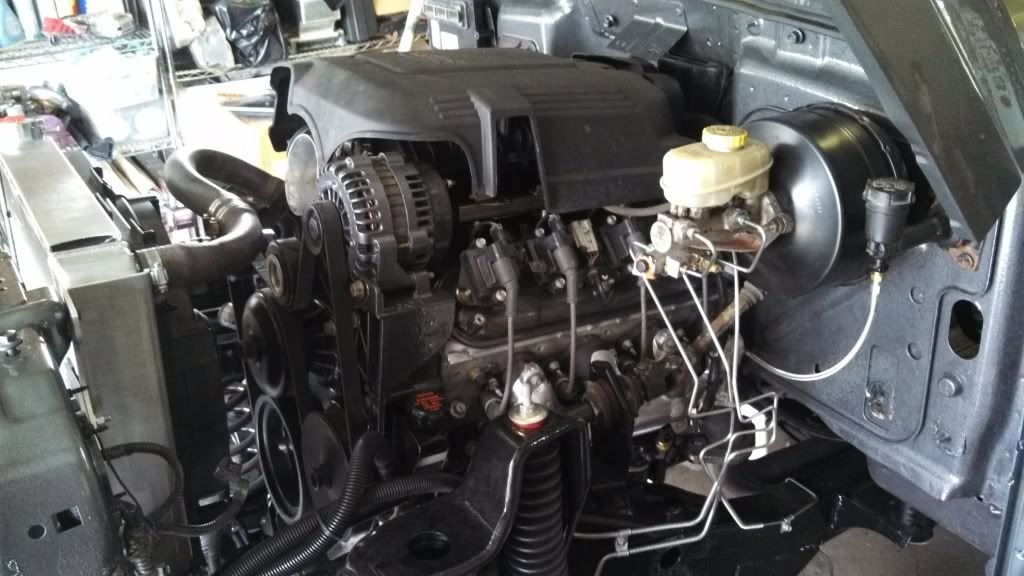
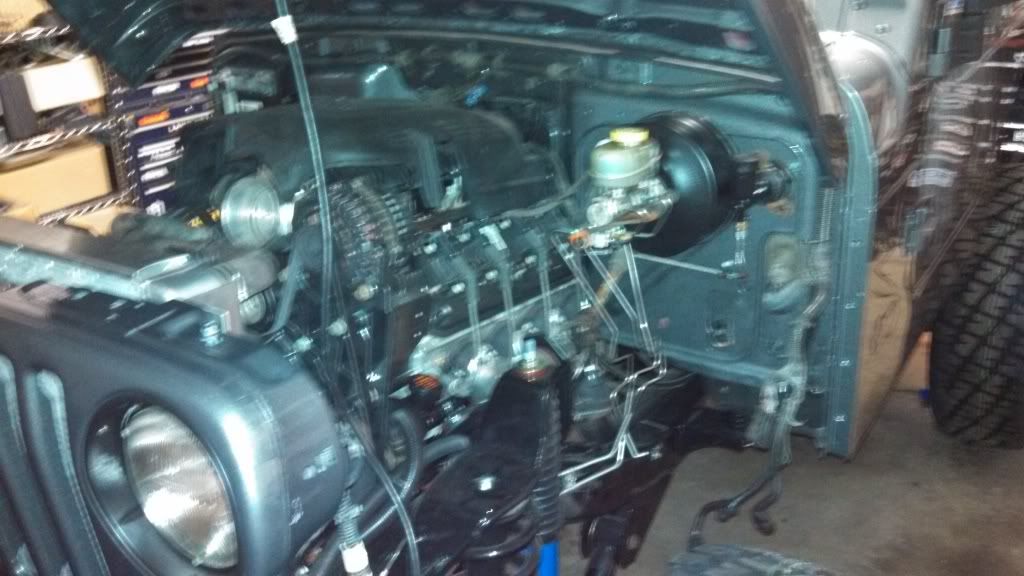
    finally got the motor in the garage to be torn down and inspected, ordered up a few goodies should have motor back together by weekend


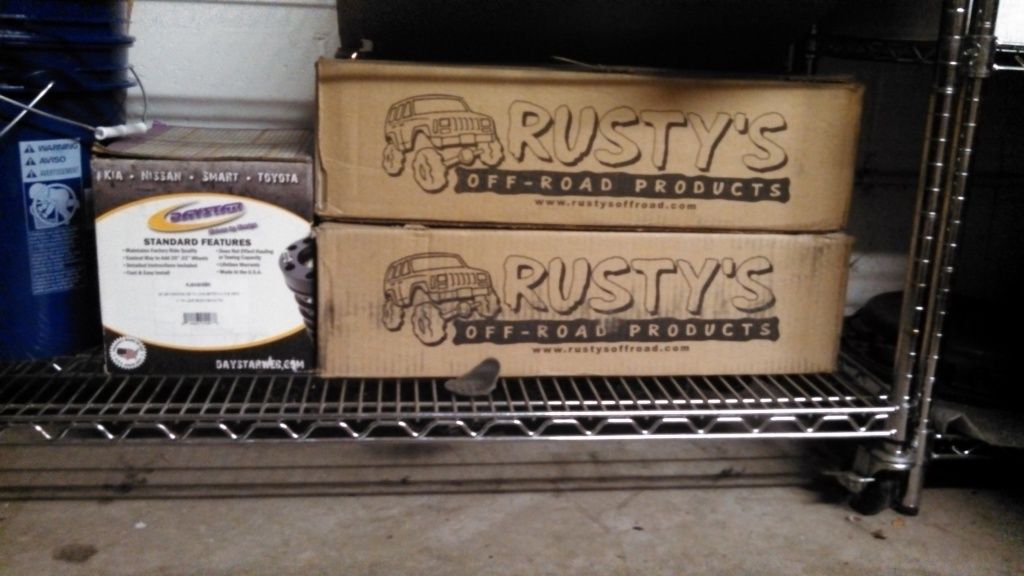
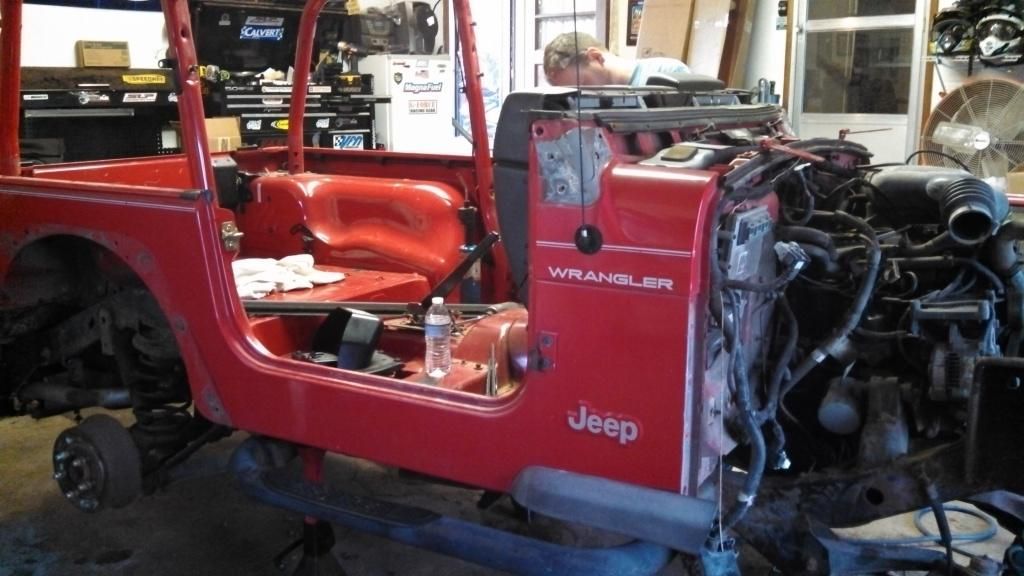
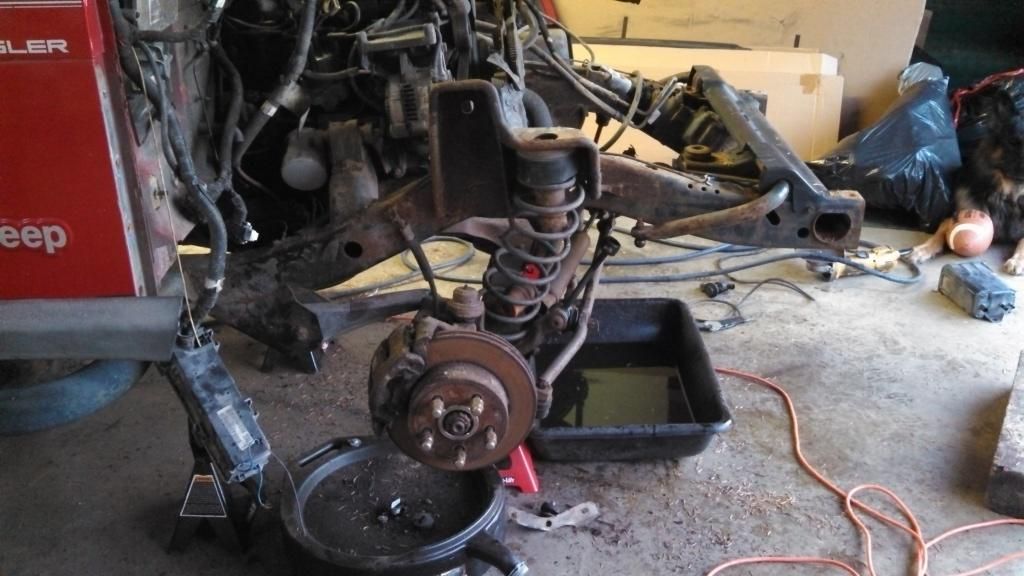
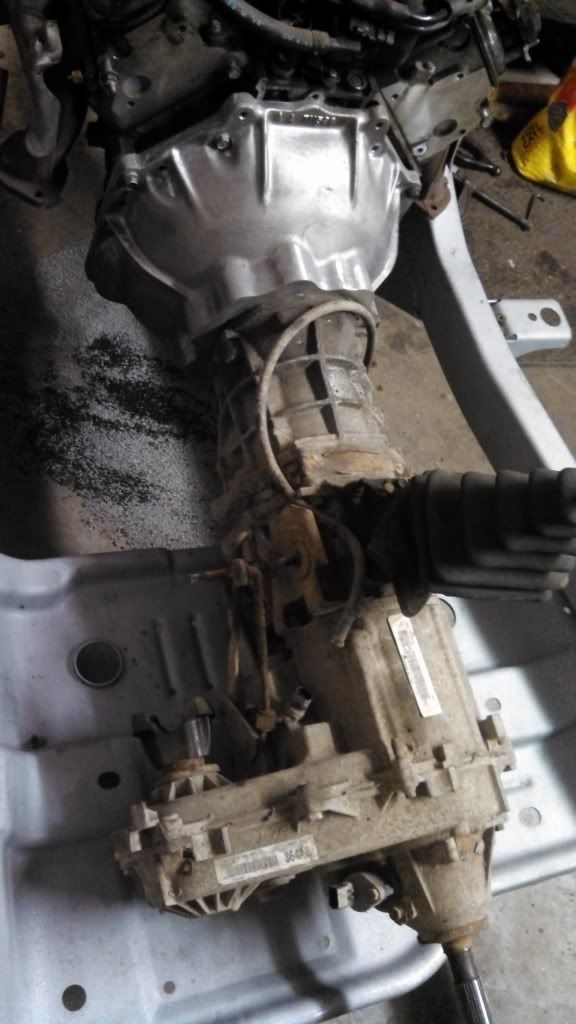
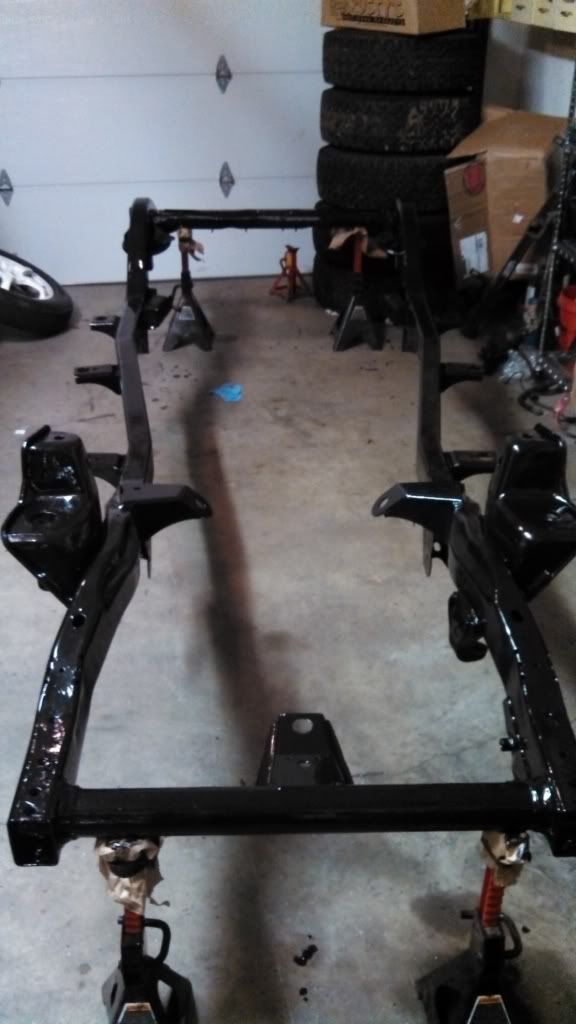
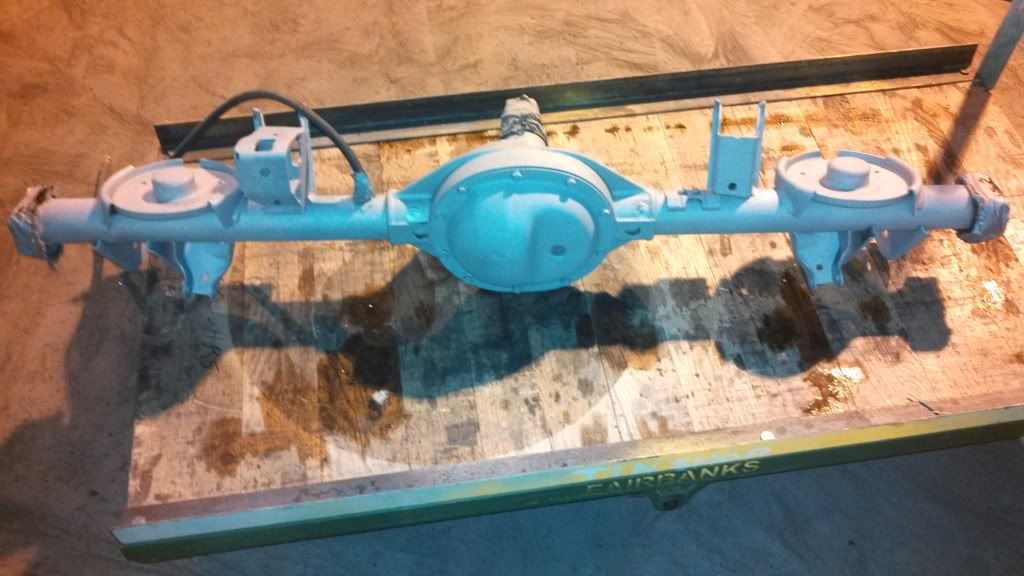
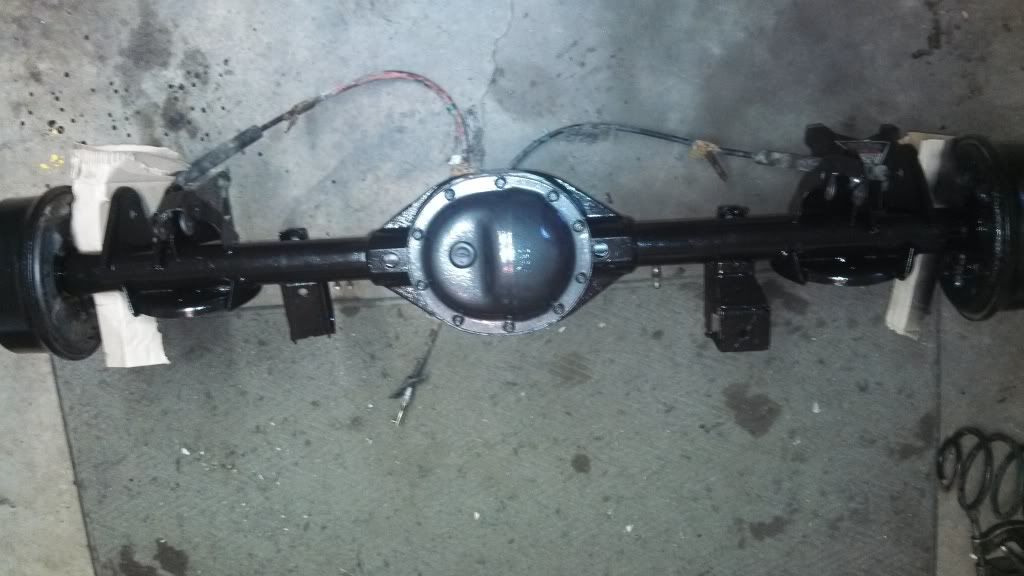
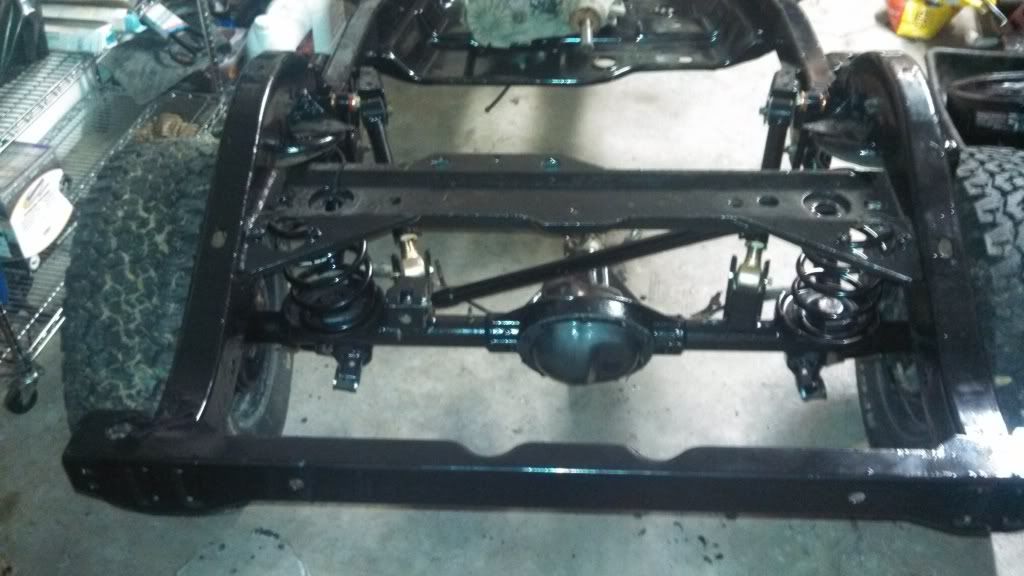
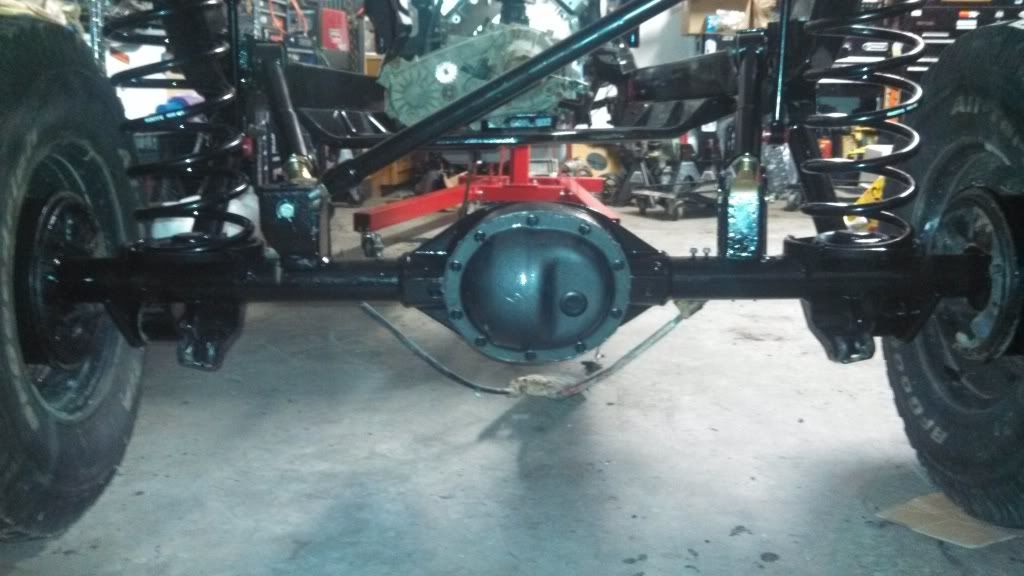
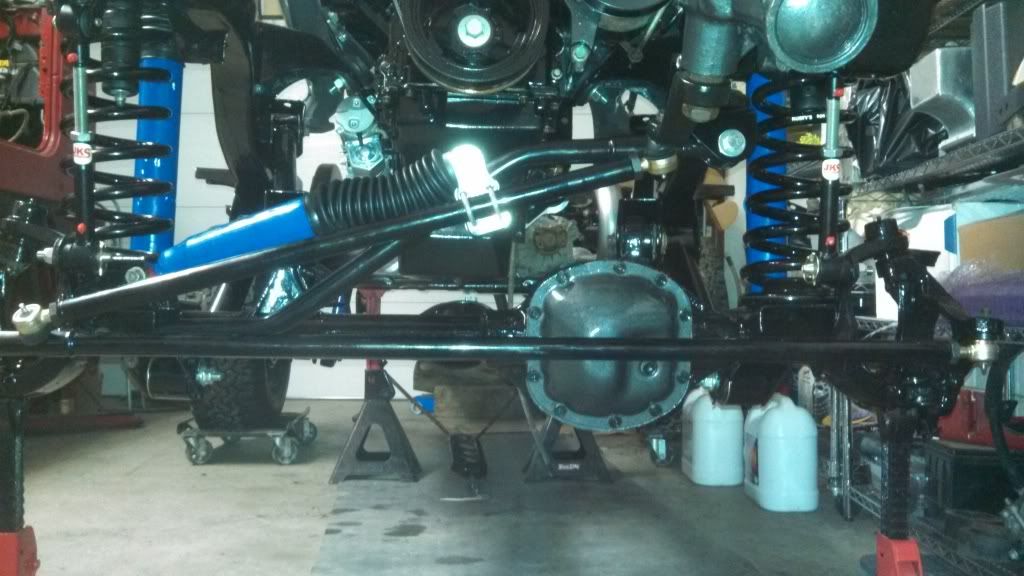
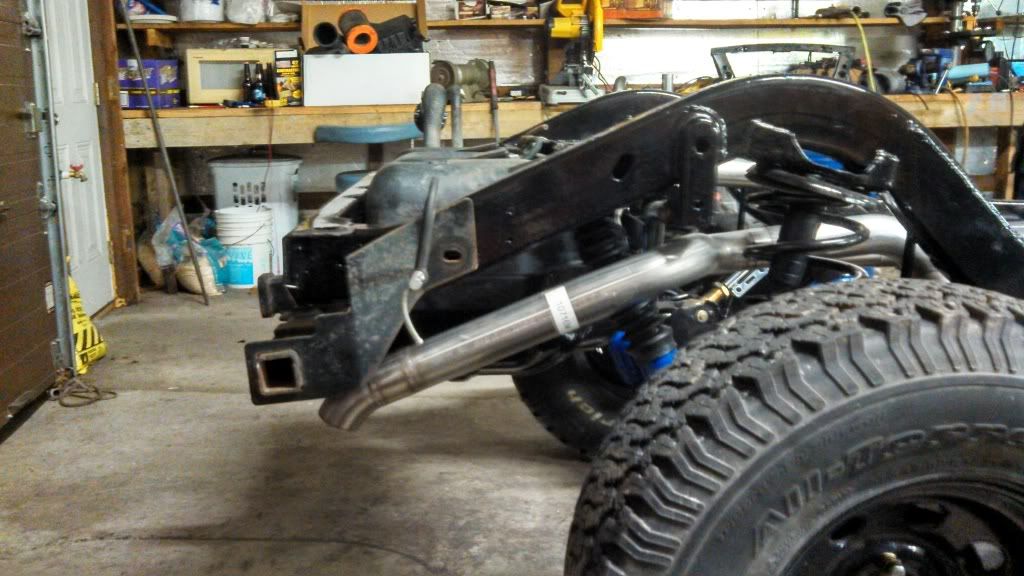
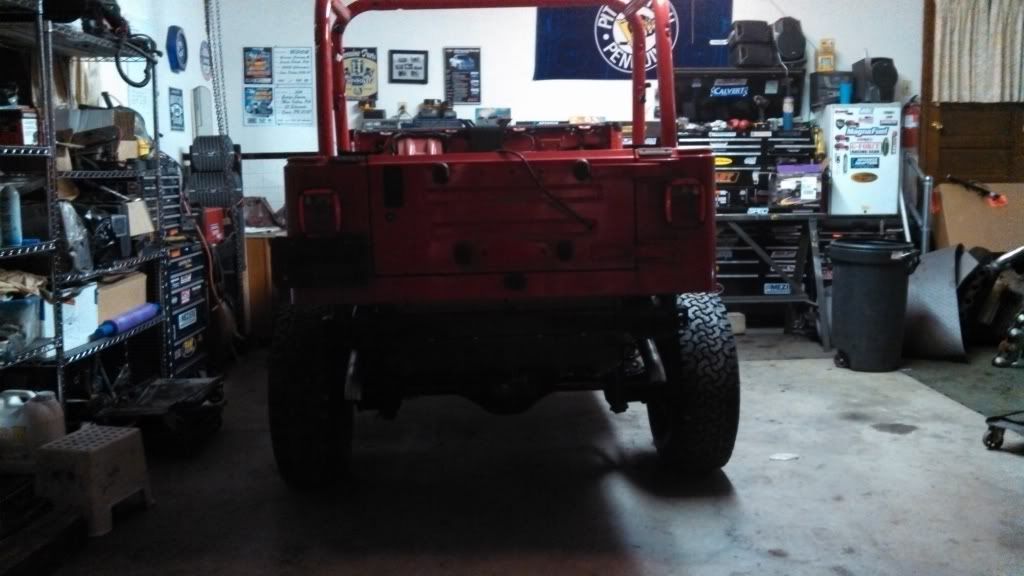
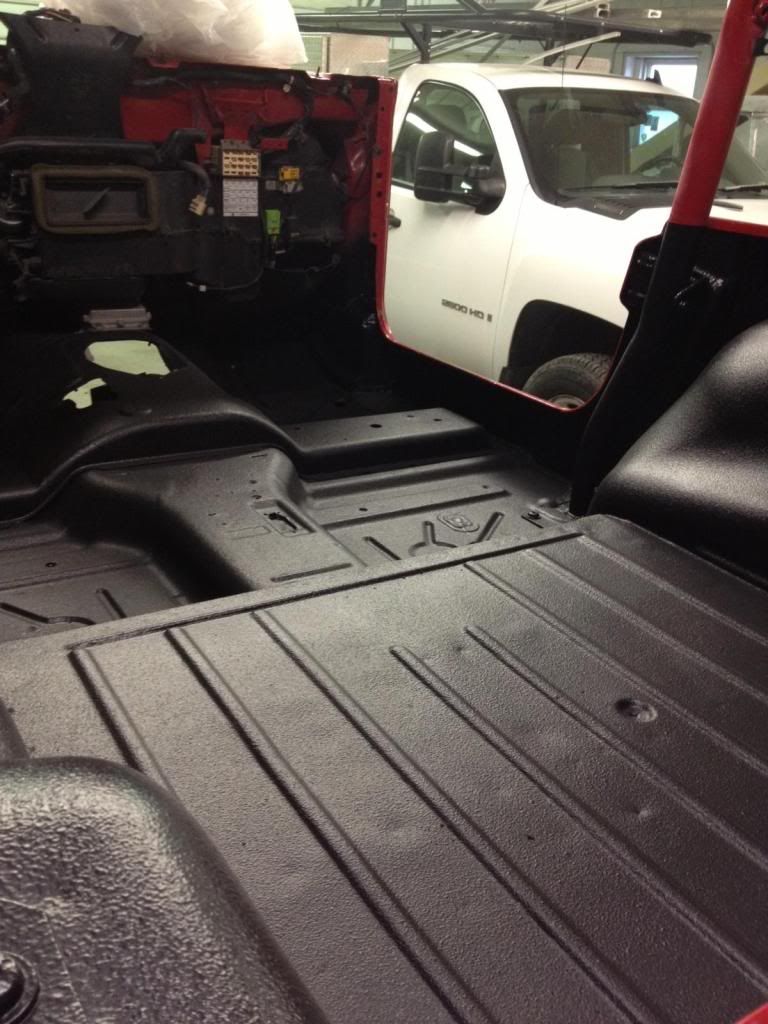
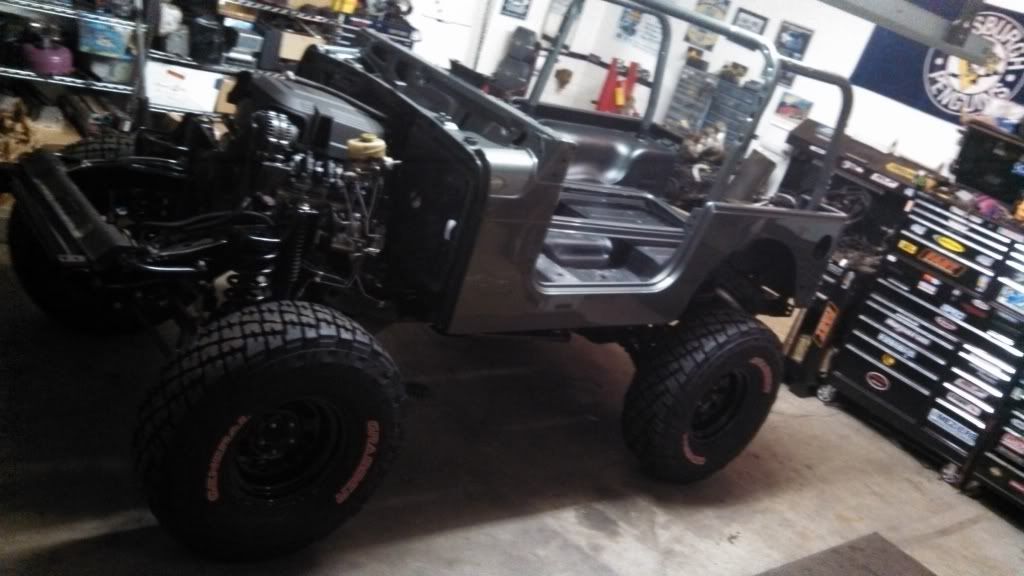
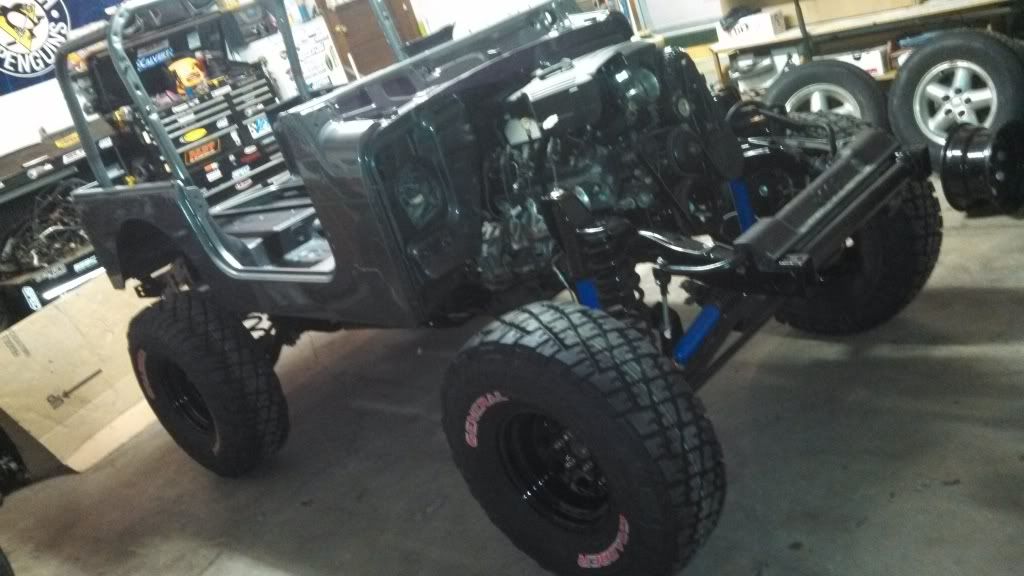
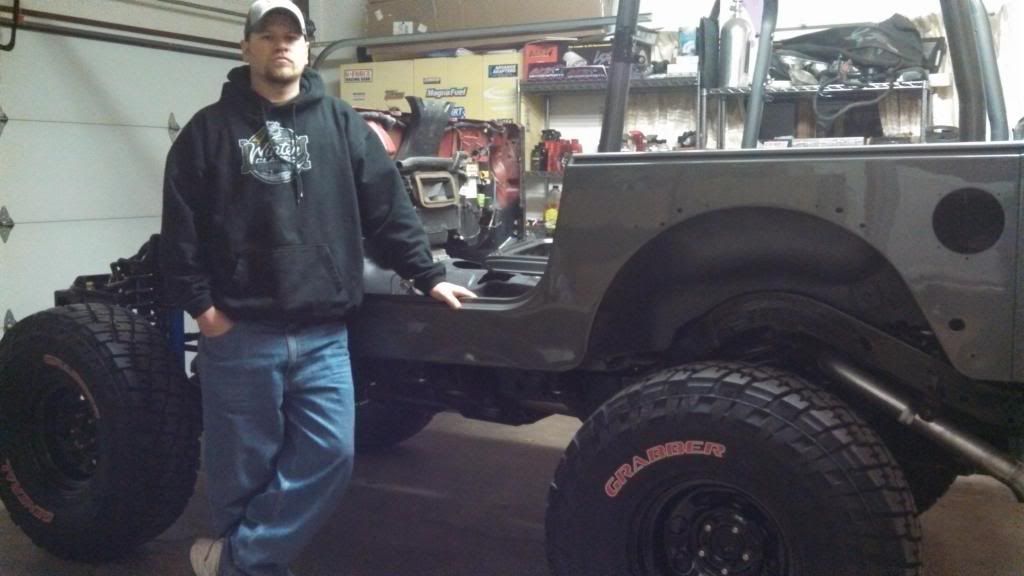
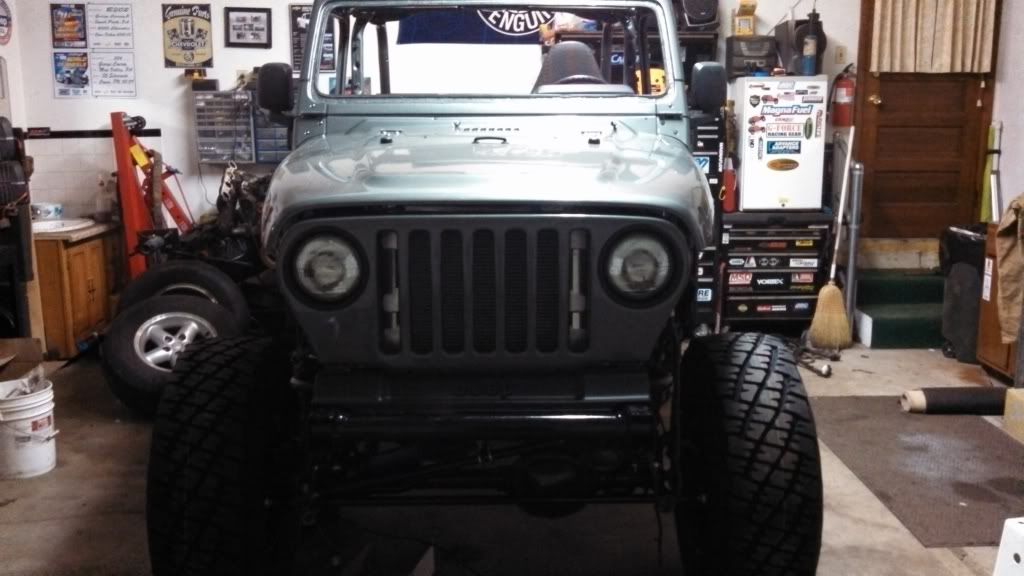
    not shown is the replacement front axle assembly that was picked up over the weekend

  8. #8
    Banned George C's Avatar
    Join Date
    Aug 2006
    Posts
    1,490
    some update here, with motor tore down we took the time to clean it inside out. Then we hit it with 3 coats of rustoleum black

    along with the block being painted, now was time to have the accesories and brackets painted. Used a combination of Hammertone black and gloss black


    before fully assembling the motor picked up a cam for the jeep. This was to give it that old school rumble sound. We chose compcam's THumper, 219/233 on a 109 lsa, upgraded to LS7 lifters, picked up a GMT900 intake and using a PTM 90mm TB


    in this pic were mocking up the new rad and checking for clearance for fan setup

  9. #9
    Banned George C's Avatar
    Join Date
    Aug 2006
    Posts
    1,490
    some more updates, had the rearend blasted

    since the rear was blasted it was now time to throw some paint at it..

    now that the rear was painted was time to toss it in the chassis...using the old 31s for rolling purposes now.


    next on the list, will be getting the front axle in and disasembled then off to the blaster

  10. #10
    Banned George C's Avatar
    Join Date
    Aug 2006
    Posts
    1,490
    made some more progress. had the replacment front axle stripped and sand blasted like the rest of the chassis. after a few coats of rustoleum it was time to reassemble and toss it in the chassis.
    during this progress we upgraded to Rusty's steering conversion , you can also see the rusty's kit came with quick connect sway bar links.... Also in the pic you can see the transfer case drop, mocking of placement of mufflers and how the GM steering lines worked with the jeep's steering box....not shown is the slip yoke eliminator


  11. #11
    Banned George C's Avatar
    Join Date
    Aug 2006
    Posts
    1,490
    got the front axles stabbed in, tossed the old 31s on it so it can be loaded up and taken to the shop to build the exhaust


  12. #12
    Banned George C's Avatar
    Join Date
    Aug 2006
    Posts
    1,490
    well got the exhaust all fab'd up and welded off...consists of 2.5" stainless with some stainless 40 series flowmasters


  13. #13
    Banned George C's Avatar
    Join Date
    Aug 2006
    Posts
    1,490
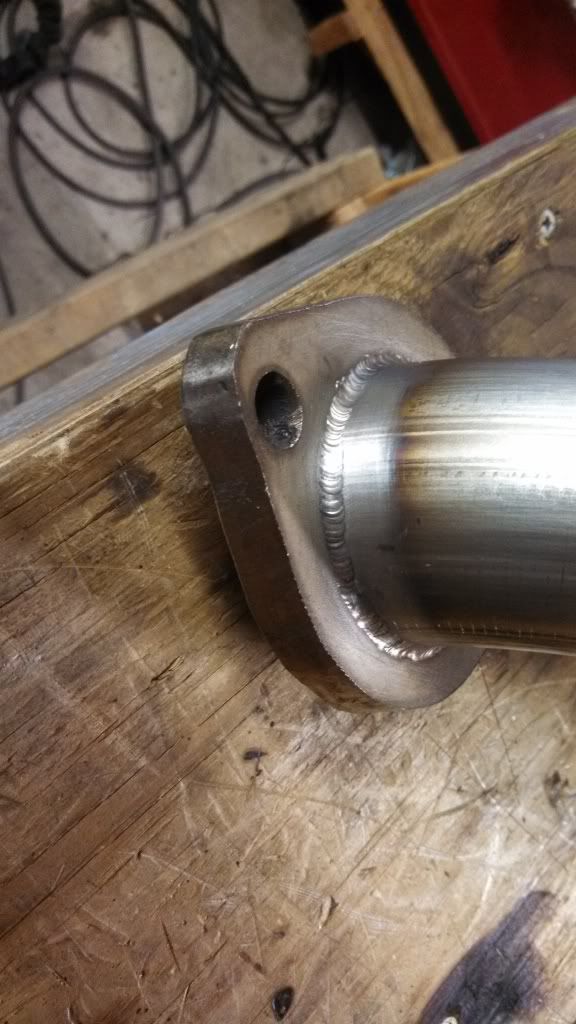
    To some these pics of the welds were done a few years ago, ive since surpassed this skill level

  14. #14
    Banned George C's Avatar
    Join Date
    Aug 2006
    Posts
    1,490
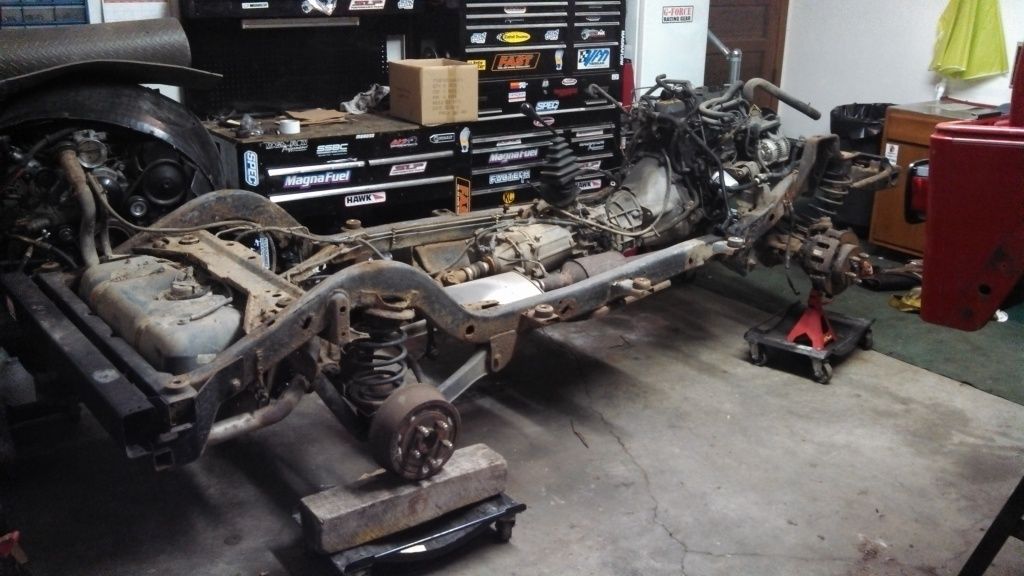
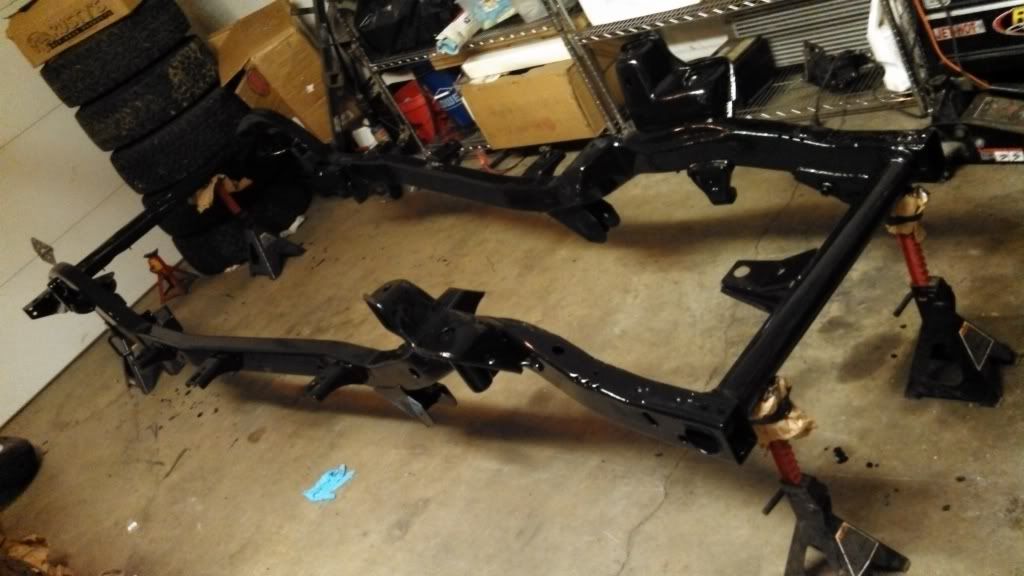
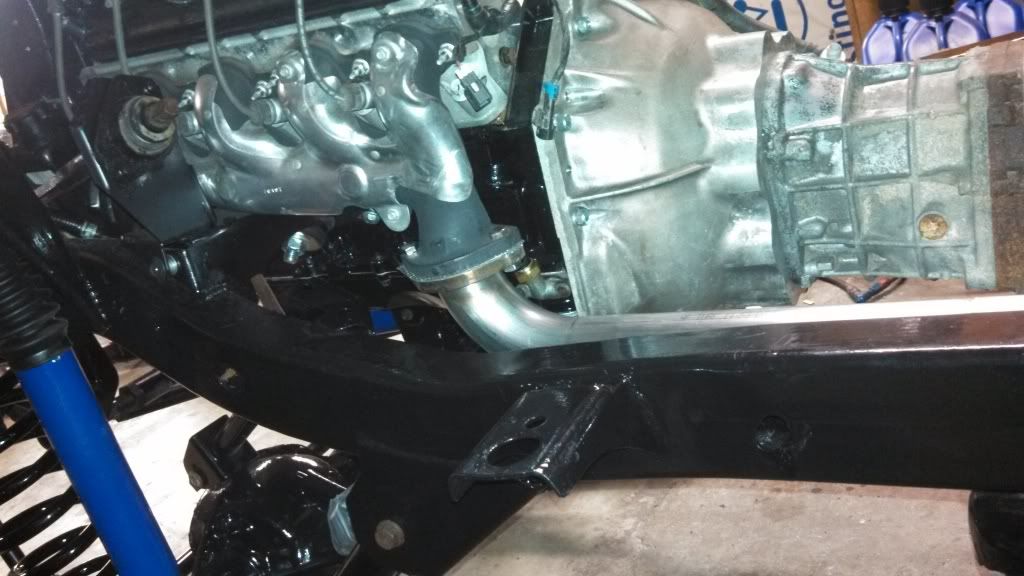
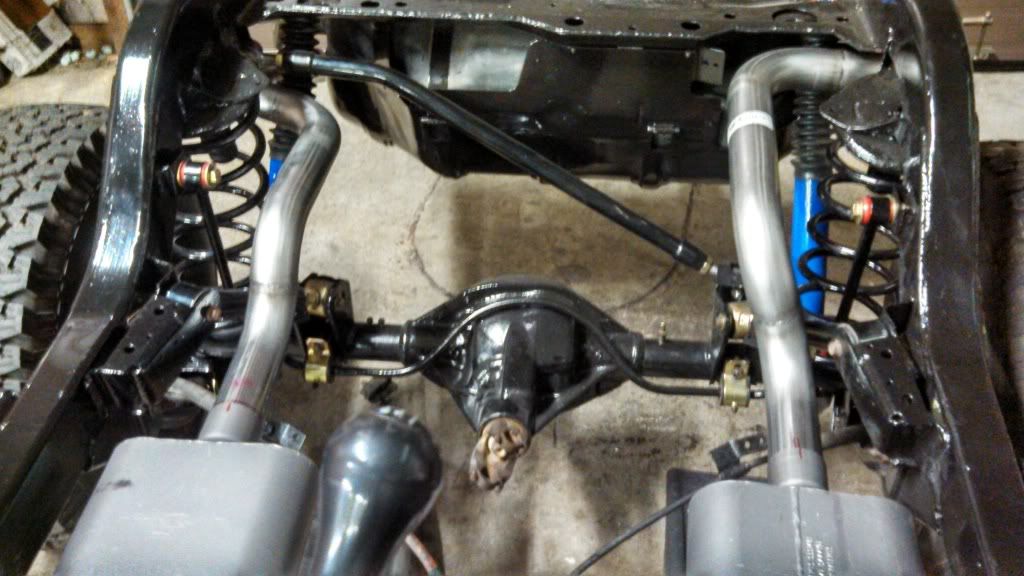
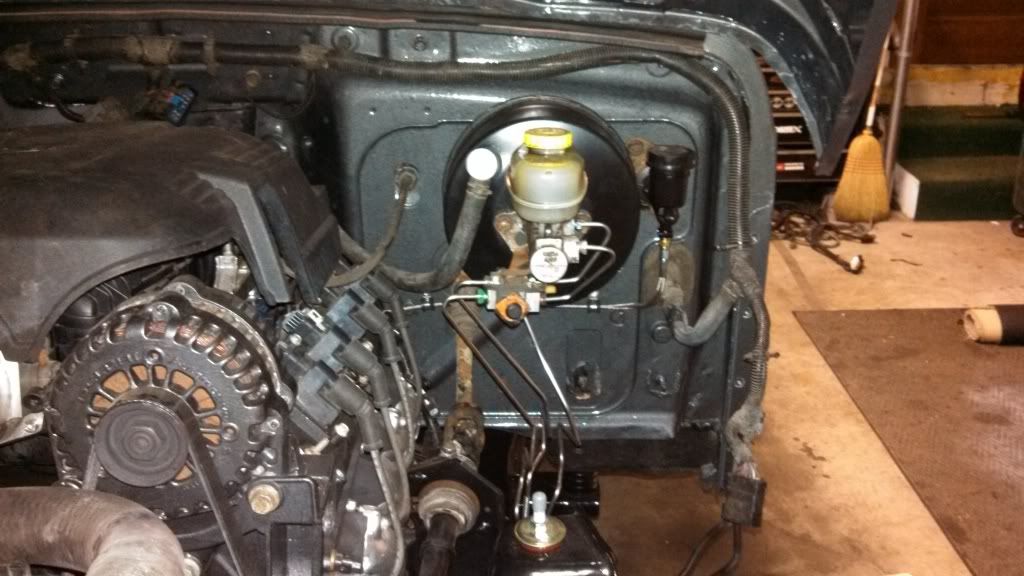
    since the next step of this project was to replace the brake lines, i went ahead and contacted INLINE TUBE and purchased their stainless steel brake lines, also decided to use the Earl's prolite 350 hose i had from a previous build. Contacted summit and ordered up the fittings required to do this job. Decided to keep the Jeep returnless which made things easiler

  15. #15
    Banned George C's Avatar
    Join Date
    Aug 2006
    Posts
    1,490
    well got alot done today...first thing that was done was the advance adapters slip yoke eliminator. [this involves spilting the transfer case and changing out the rear output shaft]


    next thing Her and I did was get body ready to be lifted and test fitted onto chassis. with having the motor tilted back some and the motor mounts cheated rearward as much as possible this caused a few clearance issues with the firewall. {with some massaging and trimming in spots] the Tub was drop onto the chassis. Using Daystar 1" body lift replacement body mounts. {these are Poly material and one piece unlike other body lifts]... Once tub was onto chassis it was time to test fit the hood to see if we had clearance...clearance is good so no need to modify the current hood.


    so as you can see the little 31s look so tiny on this rig now, so soon the body will be pulled off and then the tub work will begin to start....

  16. #16
    Banned George C's Avatar
    Join Date
    Aug 2006
    Posts
    1,490
    well the tub and body parts were dropped off at painter, he got the inside of the tub done in Raptor

    you can also see the clearancing done to firewall for the v8


  17. #17
    Banned George C's Avatar
    Join Date
    Aug 2006
    Posts
    1,490
    Well we got the tub back from the painter, so heres the new color Its summit's Carbon Fiber Metallic, seems to have 3 approaches, in dark area its a dark gray, in over cast it a light gray as you can see and in bright light the color really pops with all the metallic in place and switches to a silver

    so heres a few pics of it, yes it looks funny with the stock tires but only tires that allow the jeep to fit in the garage [lol]. if you look at the pics youll see the new stainless brake lines, we picked these up from INLine Tube


    in these pics youll see the firewall clearance now after its been massaged some


    and heres the new rubber we picked up, the wheels are at the coater getting recoated, The rubber are the generals 35x12.50x15s


    while waiting for the rest of the parts to get back from painter, we got some assembling to do lol

  18. #18
    Banned George C's Avatar
    Join Date
    Aug 2006
    Posts
    1,490
    well got the wheels back from the coater and had the tires mounted. FIgured id toss them on and see where this thing stands at


  19. #19
    Banned George C's Avatar
    Join Date
    Aug 2006
    Posts
    1,490
    was some what productive with jeep past few days. Painter dropped off the hood and gill so was able to get those in place.


    as you can see we chose to have the headlight bezels blackend out, which looks to look right at home with the carbon color

    in these pics you can see the rad mounting and the Efan that was used. We used a Fan from a 4th gen V6 fbody. this fan matched up to the rad perfect and has good clearance to the water pump


  20. #20
    Banned George C's Avatar
    Join Date
    Aug 2006
    Posts
    1,490
    the past few days weve gotten alot done and alot of this was possible cause of our painter. he really has came thru with this phase for us, getting us the parts after paint {hes very fast about his service}
    you can see we had the tailgate shaved of all its brackets and holes.

    here can see the booster and new stainless brake lines along with new stainless braided clutch line

    painter also painted the computer for us as it was pretty ugly before


    got all the rad hoses taken care of, just gotta run the vapor line over to rad
    [used a truck upper hose and just shortened it some]


    and in these pics my male GSD wanted to be in the jeep, he used to enjoy riding in it


    got brakes bleed, clutch bleed and front end harness ran. gotta focus on merging the donor harness with the jeeps engine harness then plug and play

Bookmarks

Posting Permissions

  • You may not post new threads
  • You may not post replies
  • You may not post attachments
  • You may not edit your posts
  •